Steam rises in a rhythmic, geometric plume from the industrial rice cooker as the scent of toasted nuttiness and mineral-rich earth floods the prep station. This is the sensory baseline for Prepped Quinoa Bowls; the undisputed gold standard of modular nutrient density. We are not just boiling seeds here. We are engineering a structural foundation that must remain resilient against the crushing weight of dressings and the oxidative stress of refrigeration. When you nail the hydration ratio, each grain of quinoa blooms into a tiny, translucent orb with a distinct white germ ring. It should offer a snappy resistance to the tooth before yielding its buttery interior. Forget the soggy, waterlogged mush of amateur home cooks. We are building a high-performance substrate designed to carry bold flavors and maintain its integrity from Monday's lunch through Friday's final shift. This is culinary infrastructure at its most efficient; a masterclass in volume, texture, and metabolic fuel.
THE DATA MATRIX
| Metric | Specification |
|---|---|
| Prep Time | 15 Minutes |
| Execution Time | 25 Minutes |
| Yield | 6 Portions |
| Complexity | 3 / 10 |
| Estimated Cost per Serving | $2.45 |
THE GATHERS
Ingredient Protocol:
- 500g / 2.5 cups Tri-Color Quinoa (Rinsed)
- 1L / 4 cups Low-Sodium Vegetable Stock or Bone Broth
- 15ml / 1 tbsp Extra Virgin Olive Oil
- 5g / 1 tsp Sea Salt
- 300g / 2 cups Roasted Sweet Potato Cubes
- 150g / 1 cup Blanched Broccolini Florets
- 100g / 0.5 cup Pickled Red Onions
- 60ml / 4 tbsp Tahini-Lemon Dressing
Section A: Ingredient Quality Audit:
The primary failure point in Prepped Quinoa Bowls is the presence of saponins. These are the naturally occurring bitter compounds on the exterior of the grain. If your raw material smells like soap or wet dirt, it requires a high-pressure rinse. Use a fine-mesh sieve and agitate the grains until the water runs clear. If the quinoa is old, it will be desiccated and refuse to bloom. To fix this, increase the liquid ratio by 10 percent and extend the resting period to allow for deep hydration. If your vegetables are limp, a quick shock in an ice bath will restore turgor pressure before roasting.
THE MASTERCLASS
1. The Toasting Phase
Before adding any liquid, place your dry, rinsed quinoa into a heavy-bottomed saucier over medium heat. Stir constantly with a silicone spatula to render out any remaining moisture and initiate a light Maillard reaction. This develops a deeper, more complex flavor profile that mimics toasted sesame.
Pro Tip: Use a digital scale to measure your quinoa by weight rather than volume. This ensures a precise starch-to-water ratio, preventing the grain from becoming waterlogged or undercooked.
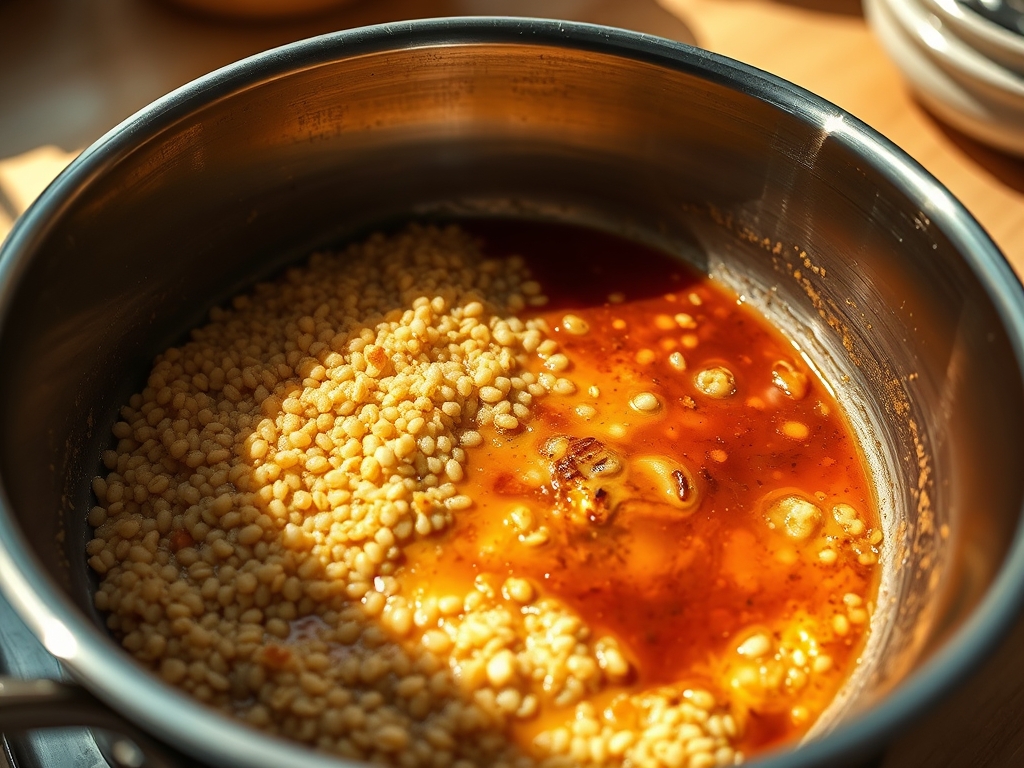
2. Precision Hydration
Pour in your stock and bring the mixture to a rolling boil. Immediately reduce the heat to the lowest possible setting and cover with a tight-fitting lid. This traps the steam, allowing the grains to infuse with the savory liquid without evaporating the necessary hydration.
Pro Tip: A heavy lid is essential. If your lid is light, place a clean kitchen towel between the pot and the lid to create a more effective seal, ensuring the steam remains internal to the cooking process.
3. The Resting Protocol
Once the liquid is fully absorbed, remove the pot from the heat source but do not open the lid. Let it stand for exactly ten minutes. This allows the residual heat to finish cooking the germ and helps the starches stabilize, making the grains easier to aerate later.
Pro Tip: Use a bench scraper to move your roasted vegetables from the sheet pan to the bowls. This professional tool prevents bruising the produce and ensures you capture all the caramelized bits from the pan.
4. Aeration and Assembly
Use a fork or a carving fork to gently fluff the quinoa. Avoid using a spoon, which can mash the delicate grains. Fold in your roasted vegetables and aromatics while the quinoa is still slightly warm to allow the flavors to meld.
Pro Tip: Temperature control is king. If you are prepping for the week, spread the cooked quinoa out on a flat baking sheet to cool rapidly. This prevents the "carry-over cooking" that leads to a mushy texture in stored bowls.
Section B: Prep & Timing Fault-Lines:
Human error usually manifests in the "boil-over" or the "scorch." If you find a layer of burnt grain at the bottom of your pot, do not scrape it. Transfer the good quinoa to a new container immediately. The burnt flavor is viscous and will permeate the entire batch if left to sit. Timing is also critical; if you add your dressing to the bowls while the ingredients are hot, the acids will break down the chlorophyll in green vegetables, turning them a dull, unappetizing olive drab. Always wait for the base to reach room temperature before final assembly.
THE VISUAL SPECTRUM
Section C: Thermal & Visual Troubleshooting:
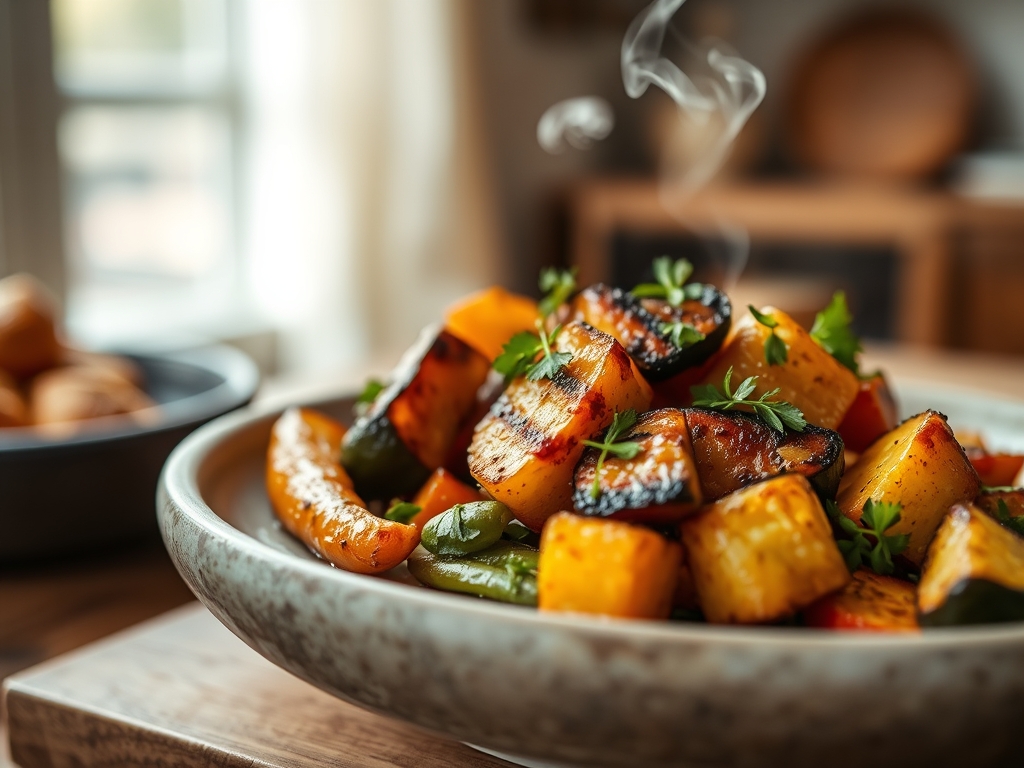
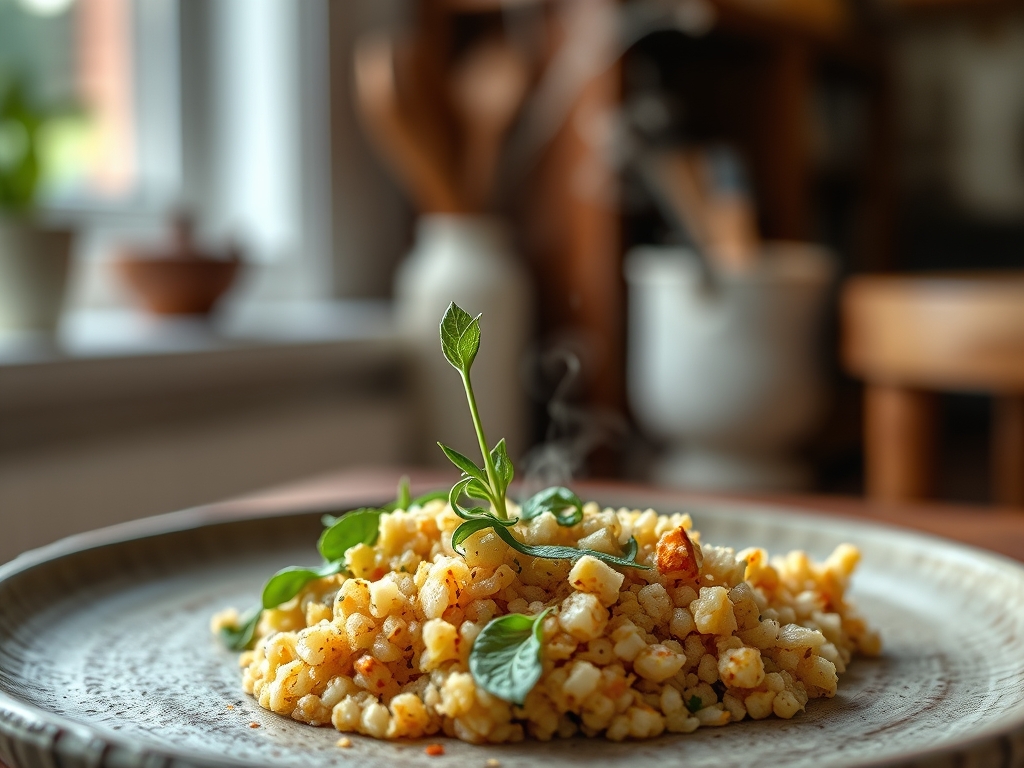
Look at the Masterclass photo above. Notice the distinct separation between the grains and the vibrant, high-contrast colors of the toppings. If your bowl looks monochromatic or "muddy," you have likely overcooked your vegetables or failed to rinse the quinoa properly. To achieve that piquant visual pop, ensure your pickled elements are bright pink and your greens are vibrant. If the quinoa looks gray, try substituting 25 percent of the cooking liquid with beet juice or turmeric-infused water for a more dramatic visual profile. Uneven browning on the sweet potatoes usually indicates overcrowding on the roasting tray; ensure each cube has "breathing room" to allow for proper air circulation and moisture evaporation.
THE DEEP DIVE
Macro Nutrition Profile:
A standard serving of these Prepped Quinoa Bowls provides approximately 380 calories, 12g of protein, 55g of complex carbohydrates, and 14g of healthy fats. It is a complete protein source, containing all nine essential amino acids, making it a powerhouse for cellular repair and sustained energy.
Dietary Swaps:
- Vegan: Already compliant as written. Ensure the vegetable stock is high-quality.
- Keto: Replace quinoa with riced cauliflower. Reduce cooking time to 5 minutes to avoid a watery mess.
- GF: Quinoa is naturally gluten-free, but check your stock labels for hidden wheat-based thickeners.
Meal Prep & Reheating Science:
To maintain molecular structure during reheating, add a teaspoon of water to the bowl before microwaving. This creates a localized steam environment that re-hydrates the grain without making it soggy. If using an oven, cover the dish with foil to prevent the top layer from becoming flinty and hard. The starch retrogradation that occurs during refrigeration actually makes the quinoa slightly lower on the glycemic index when eaten cold or gently reheated.
THE KITCHEN TABLE
How long do these bowls last in the fridge?
When stored in airtight glass containers, these bowls maintain peak structural integrity for 4 to 5 days. Ensure the dressing is stored in a separate ramekin to prevent the grains from becoming oversaturated and losing their snap.
Can I freeze the quinoa base?
Absolutely. Quinoa freezes exceptionally well. Spread it on a baking sheet to freeze individually before bagging. This prevents the grains from clumping into a solid mass, allowing you to defrost only what you need for a single meal.
Why is my quinoa still crunchy after 20 minutes?
This usually indicates an altitude issue or an insufficient seal on your pot. Add 50ml of liquid, return to a simmer, and cover tightly. Let it sit for an additional 10 minutes off the heat to finish the hydration.
Is it necessary to use broth instead of water?
While water works, broth provides a necessary mineral depth and savory backbone. If you must use water, be sure to increase your salt and aromatics significantly to avoid a bland, one-dimensional flavor profile.