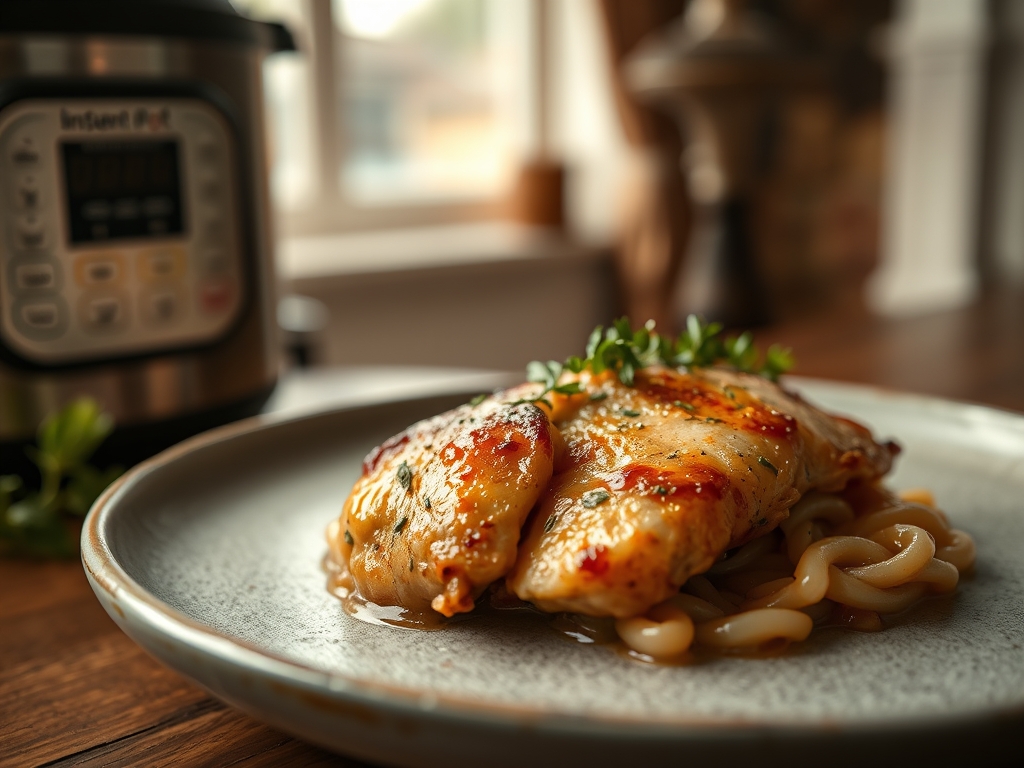
Listen to the sound of a pressurized chamber screaming for mercy as it performs a miracle in under an hour. We are not just cooking a bird; we are managing a high-stakes structural engineering project where the objective is maximum collagen breakdown without total skeletal collapse. The Instant Pot Whole Chicken is the ultimate stress test for your kitchen infrastructure. It demands respect for the laws of thermodynamics and a keen eye for moisture retention. When that steam release valve finally triggers; a plume of chicken-infused aerosol fills the room; signaling that the connective tissues have surrendered to the relentless assault of steam. This is the intersection of speed and soul. We are looking for a bird that remains structurally sound enough to carve but tender enough to dissolve upon contact with the palate. Forget the dry; stringy roasts of yesteryear. Today; we leverage atmospheric pressure to force seasoning into the deepest fibers of the muscle meat; ensuring every bite is a masterclass in hydration and flavor density.
THE DATA MATRIX
| Metric | Specification |
|---|---|
| Prep Time | 15 Minutes |
| Execution Time | 45 Minutes |
| Yield | 4 to 6 Servings |
| Complexity (1-10) | 4 |
| Estimated Cost per Serving | $2.75 USD |
THE GATHERS
Ingredient Protocol:
- 1 Whole Chicken (Giblets removed): 1.8 kg / 4 lbs
- Chicken Bone Broth: 240 ml / 1 cup
- Unsalted Butter (Softened): 56 g / 4 tbsp
- Smoked Paprika: 10 g / 2 tsp
- Garlic Powder: 5 g / 1 tsp
- Onion Powder: 5 g / 1 tsp
- Dried Thyme: 2 g / 1 tsp
- Kosher Salt: 18 g / 1 tbsp
- Black Pepper (Freshly cracked): 5 g / 1 tsp
- Extra Virgin Olive Oil: 15 ml / 1 tbsp
Section A: Ingredient Quality Audit:
If your bird feels slimy or emits a sulfurous odor; the structural integrity is compromised by bacterial growth; discard it immediately. For a bird that is too lean; the lack of subcutaneous fat will result in a dry finish. To fix this; increase your butter application by 25 percent to manually infuse lipids into the breast meat. If your spices are dull and dusty; they have oxidized. Revive them by lightly toasting them in a dry saucier for 30 seconds before mixing with the butter. This thermal activation releases essential oils that would otherwise remain dormant during the high-pressure cycle.
THE MASTERCLASS
1. The Surface Preparation
Pat the bird dry using industrial-strength paper towels until the skin reaches a matte finish. Moisture is the enemy of the Maillard reaction. Apply the olive oil as a binder; then aggressively season the cavity and the exterior with your spice blend.
Pro Tip: Use a digital scale to weigh your salt. Volumetric measurements are inconsistent; and a 1 percent salt-to-weight ratio is the golden standard for deep cellular seasoning.
2. The Searing Phase
Set your vessel to the highest saute setting. Once the display reads "Hot"; place the bird breast-side down. Sear for 4 to 5 minutes until the skin is golden and begins to render its fat. Flip carefully using heavy-duty tongs.
Pro Tip: Use a bench scraper to gently lift any skin that sticks to the stainless steel. This prevents tearing the "packaging" of your chicken; which is essential for moisture retention.
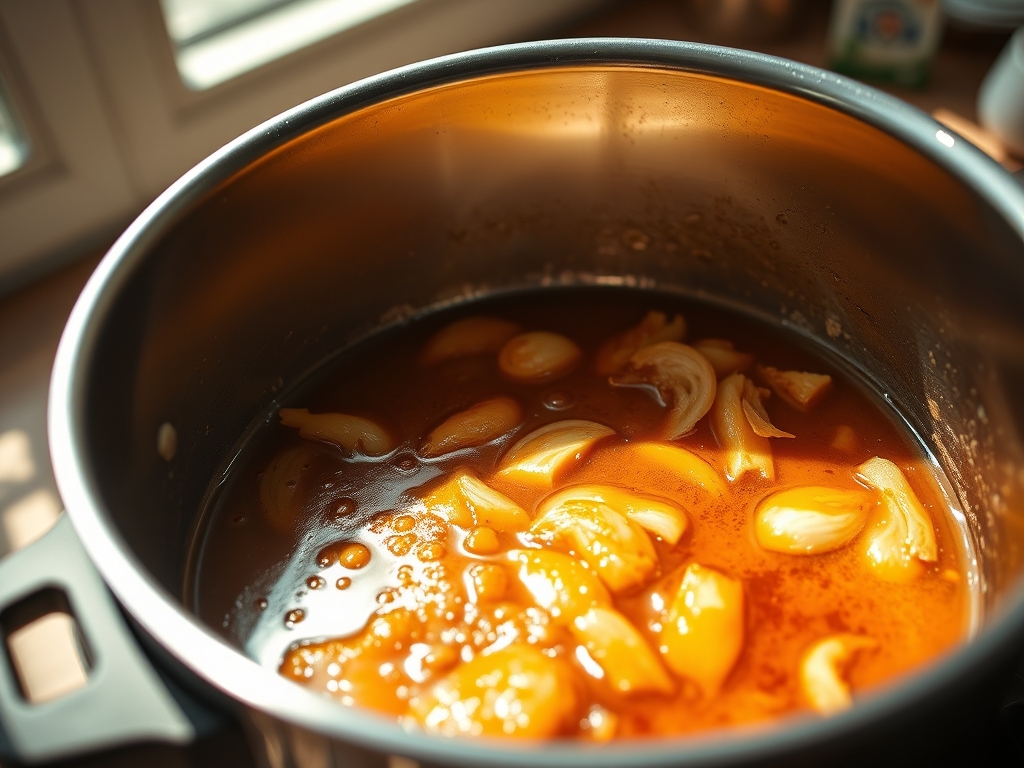
3. The Deglaze Protocol
Remove the chicken and set it on a clean workspace. Pour the chicken broth into the pot. Use a wooden spatula to deglaze the bottom; scraping up every brown bit (the fond). These bits are concentrated flavor crystals.
Pro Tip: This step is vital for infrastructure. If you do not scrape the bottom; the "Burn" sensor will trigger; halting your thermal progress and ruining your timing.
4. The Pressure Ascent
Place the trivet inside the pot and rest the chicken on top; breast-side up. Lock the lid and set the manual pressure to High for 6 minutes per pound (approx. 24 to 25 minutes for a standard bird).
Pro Tip: Ensure the sealing ring is properly seated. A faulty seal leads to steam leakage; which results in a "stewed" rather than "roasted" texture. Use a saucier to prep a side glaze while the pressure builds.
5. The Controlled Descent
Once the timer expires; allow for a 15-minute Natural Pressure Release (NPR). This allows the muscle fibers to relax and reabsorb the viscous juices that were pushed toward the surface during the high-heat phase.
Pro Tip: Moving too fast here is a rookie mistake. A rapid release causes the internal liquids to boil violently; shredding the delicate meat fibers from the inside out.
Section B: Prep & Timing Fault-Lines:
The most common failure is the "Rubber Skin Syndrome." Pressure cookers are moist-heat environments; which are antithetical to crispiness. If your timing is off and the bird sits in the "Keep Warm" mode for too long; it will overcook into a mushy heap. Always use a probe thermometer to ensure an internal temperature of 165 degrees Fahrenheit (74 Celsius). If you encounter a "Burn" error; your liquid-to-solid ratio is likely skewed; add 50ml of water immediately to restore the steam buffer.
THE VISUAL SPECTRUM
Section C: Thermal & Visual Troubleshooting:
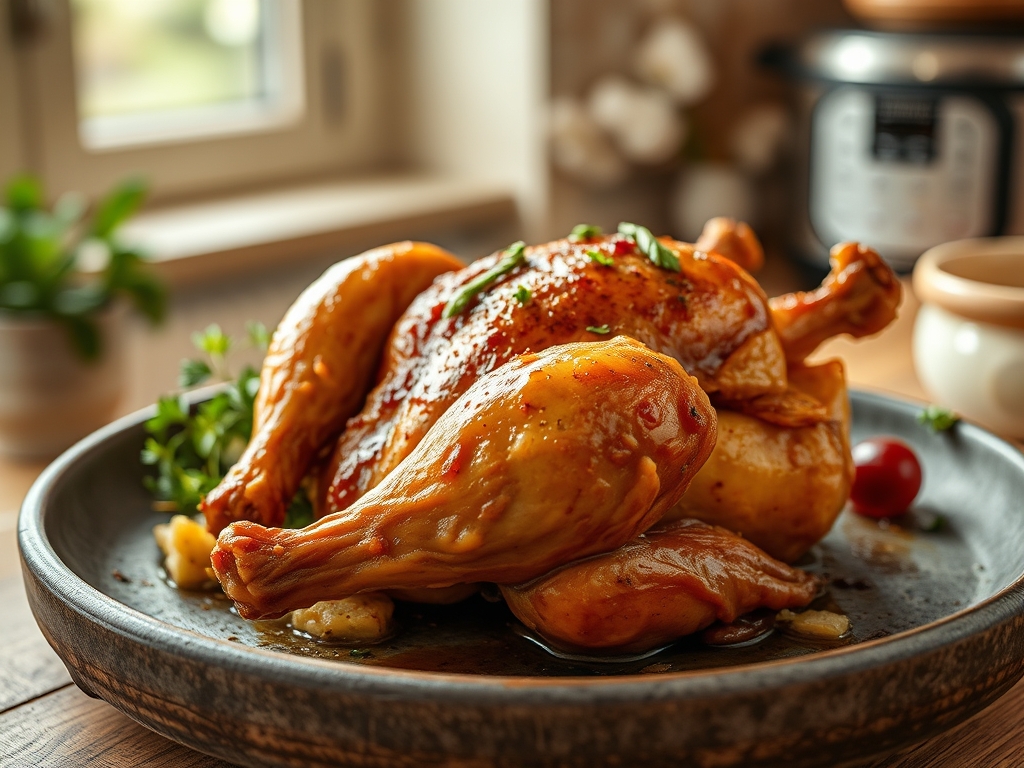
Referencing the Masterclass photo; notice the deep mahogany hue and the tautness of the skin. If your bird looks pale and "boiled"; you skipped the searing phase or failed to deglaze properly. To fix a pale bird post-cook; brush it with melted butter and place it under a high-intensity broiler for 3 minutes. If the meat appears pink near the bone despite reaching temperature; this is often a result of pigment leaching from young bones; it is safe to eat but visually unappealing. To mask this; carve the bird and serve with a piquant herb oil or a thickened gravy made from the pot drippings to add visual depth and contrast.
THE DEEP DIVE
Macro Nutrition Profile
A standard serving (150g) provides approximately 35g of protein; 12g of fat; and 0g of carbohydrates. The pressure cooking process preserves more water-soluble vitamins (like B6 and B12) compared to traditional open-air roasting; making this a nutritionally superior method.
Dietary Swaps
- Keto: No changes needed; this is a fat-and-protein powerhouse.
- Vegan: Replace the chicken with a large head of cauliflower and use vegetable broth. Reduce pressure time to 5 minutes.
- GF: Ensure your chicken broth is certified gluten-free; as some brands use yeast extract derived from barley.
Meal Prep & Reheating Science
To maintain molecular structure; store the chicken in an airtight container with a splash of the cooking liquid. When reheating; avoid the microwave; which causes protein cross-linking and makes the meat rubbery. Instead; use a low-temperature oven (300F) to gently aerate the meat with heat without stripping its moisture.
THE KITCHEN TABLE
How do I get the skin truly crispy?
Pressure cooking will never yield "fried" skin. For maximum crunch; you must transfer the bird to a baking sheet and broil it for 3 to 5 minutes after the pressure cycle is complete. Brush with extra butter first.
Can I cook a frozen whole chicken?
Yes; increase the pressure time to 12 to 15 minutes per pound. However; you lose the ability to sear the bird initially; which significantly impacts the depth of flavor and the final visual presentation.
What do I do with the leftover liquid?
Never discard the "liquid gold" at the bottom. Strain it through a fine-mesh sieve and use it as a base for a soup or reduce it in a saucier to create a concentrated demi-glace.
Why did my chicken fall apart?
You likely overcooked it or used a "Quick Release" for the steam. High-pressure steam needs time to dissipate naturally; otherwise; the rapid pressure change physically tears the tenderized connective tissue apart.