Listen to the sound of a high-performance vacuum pump evacuating the atmosphere from a heavy-duty polymer sleeve. It is the sound of absolute control. When you engage in the high-stakes world of long-term preservation and precision cooking, you are essentially building a fortified bunker for your proteins. However, this is not just about keeping air out; it is about the rigorous standards of Vacuum Sealer Safety. Without proper protocol, your pristine brisket becomes a playground for anaerobic pathogens like Clostridium botulinum. We are here to audit your kitchen infrastructure to ensure that every seal is a masterpiece of engineering and every meal is a triumph of safety. This is the intersection of culinary artistry and microbial defense. We are not just sealing bags; we are locking down flavor profiles and extending the shelf life of our assets through superior thermal management. Get ready to recalibrate your sensors and sharpen your knives. We are diving deep into the technical specifications of the perfect vacuum-sealed ribeye and seasonal vegetable medley.
THE DATA MATRIX
| Metric | Specification |
|---|---|
| Prep Time | 25 mins |
| Execution Time | 120 mins |
| Yield | 4 Servings |
| Complexity (1-10) | 7 |
| Estimated Cost per Serving | $12.50 |
THE GATHERS
Ingredient Protocol:
- 800g / 28oz Prime Grade Ribeye (Center cut)
- 15ml / 1 tbsp Neutral Grapeseed Oil
- 45g / 3 tbsp Unsalted European Butter
- 300g / 10.5oz Heirloom Carrots (Trimmed)
- 120ml / 0.5 cup Beef Bone Broth (High gelatin content)
- 2 sprigs / 4g Fresh Thyme
- 10g / 2 tsp Diamond Crystal Kosher Salt
- 5g / 1 tsp Coarse Black Peppercorns
Section A: Ingredient Quality Audit:
If your ribeye shows signs of surface moisture or a greyish hue, your Maillard reaction will fail. Use a bench scraper to remove any excess liquid before seasoning. If the carrots feel flaccid, they have lost turgor pressure; revive them by submerging them in an ice bath for twenty minutes. For bone broth that lacks body, whisk in 2g of unflavored gelatin to ensure a viscous mouthfeel during the final reduction. Quality control starts at the source.
THE MASTERCLASS
1. Thermal Equilibrium and Seasoning
The first step is to bring your protein to room temperature. Use a digital scale to weigh your salt precisely; 1.5 percent of the meat's weight is the gold standard for deep seasoning. Rub the salt and cracked pepper into the fibers of the meat to initiate the denaturing process.
Pro Tip: Salt acts as a surfactant, breaking down the tightly wound protein strands. This allows the seasoning to infuse deeper into the muscle tissue before the heat is applied.
2. The Primary Seal Protocol
Place the seasoned ribeye into a commercial-grade vacuum bag. Ensure the edges of the bag are bone dry; moisture on the sealing strip is the leading cause of seal failure. This is the core of Vacuum Sealer Safety. Double-seal the bag if you plan on a cook time exceeding four hours to prevent water ingress.
Pro Tip: Using a chamber vacuum sealer is superior to suction-style units because it equalizes pressure inside and outside the bag, preventing liquids from being sucked into the machinery.
3. Precision Immersion
Set your circulator to 54 degrees Celsius for a perfect medium-rare. Submerge the bag completely. Ensure there is adequate water flow around the entire surface area of the protein to maintain a constant thermal gradient.
Pro Tip: The science of sous vide relies on the thermal conductivity of water, which is much more efficient than air. This ensures the center of the steak reaches the target temperature without overcooking the exterior.
4. The Maillard Execution
Once the timer expires, remove the steak and pat it aggressively dry with paper towels. Heat a heavy-bottomed saucier or cast-iron skillet until the oil reaches its smoke point. Sear the meat for exactly sixty seconds per side to render the fat and create a crust.
Pro Tip: The Maillard reaction occurs most rapidly between 140 and 165 degrees Celsius. If the meat is wet, the energy goes into evaporating water rather than browning the protein.
5. The Emulsified Glaze
Reduce the heat and add the butter and thyme. Use a large spoon to continuously baste the steak. In a separate pan, deglaze your roasted carrots with the bone broth, reducing it until it coats the back of a spoon.
Pro Tip: Basting with butter creates a nutty, piquant aroma known as beurre noisette. This adds a layer of complexity that complements the deep, savory notes of the beef.
Section B: Prep & Timing Fault-Lines:
The most common failure is the "danger zone" of temperature. If your water bath drops below 52 degrees Celsius for more than two hours, discard the contents. Another fault-line is the "ice bath bypass." If you are not consuming the meat immediately after the water bath, you must crash the temperature in a 50/50 ice and water slurry to stop microbial growth and preserve the molecular structure.
THE VISUAL SPECTRUM
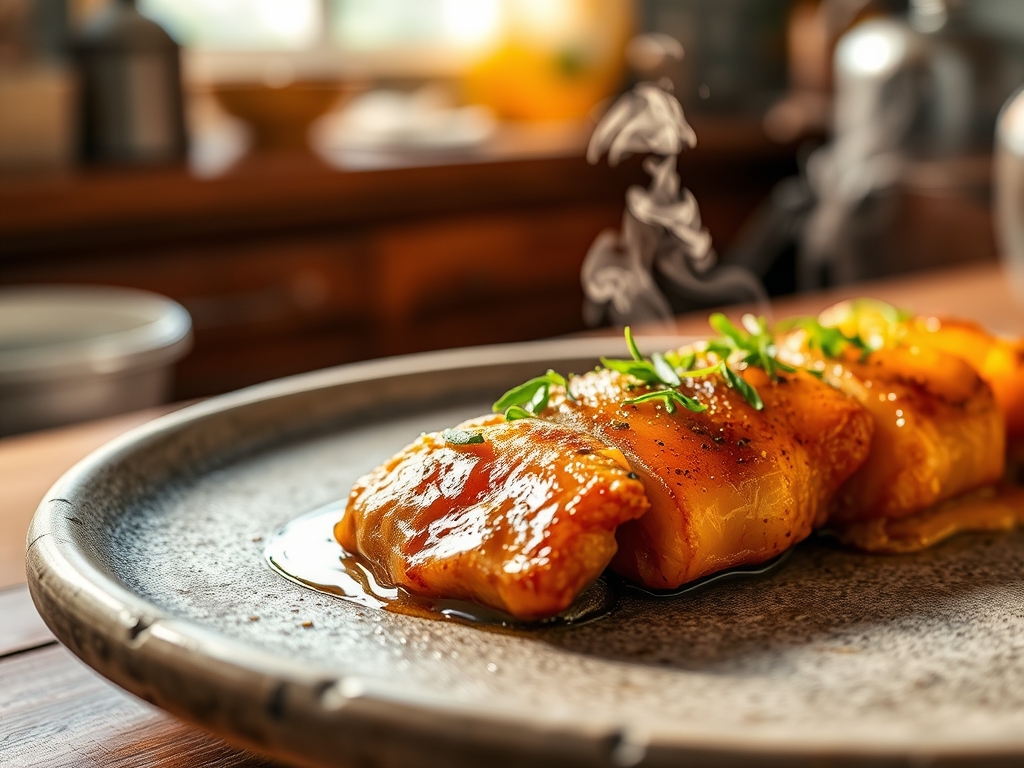
Section C: Thermal & Visual Troubleshooting:
Look at the Masterclass photo; notice the edge-to-edge pink interior and the dark, mahogany crust. If your steak has a grey "bullseye" ring, you seared it for too long or didn't dry the surface enough. If the carrots appear dull, they have been over-oxidized; a quick splash of lemon juice at the end will aerate the flavor and brighten the color. If the sauce is breaking, whisk in a teaspoon of cold water to re-emulsify the fats.
THE DEEP DIVE
Macro Nutrition Profile:
A single serving provides 48g of protein, 32g of fat (primarily monounsaturated if using high-quality beef), and 8g of carbohydrates from the carrots. The caloric density is approximately 520 kcal per serving.
Dietary Swaps:
- Vegan: Replace ribeye with thick-cut cauliflower steaks and use avocado oil instead of butter.
- Keto: Eliminate the carrots and replace them with sautéed spinach or asparagus.
- GF: This protocol is naturally gluten-free; ensure your bone broth has no hidden thickeners.
Meal Prep & Reheating Science:
To reheat, return the vacuum-sealed bag to a 50 degree Celsius water bath for 30 minutes. This prevents the proteins from tightening further, which would squeeze out the moisture and result in a "rubbery" texture. By staying below the original cooking temperature, you maintain the precise molecular alignment of the medium-rare finish.
THE KITCHEN TABLE
How do I know if my vacuum seal is safe?
The bag should be tight against the food with no visible air pockets. If the bag expands during cooking, it indicates either a leak or, more dangerously, gas production from bacterial activity. When in doubt, throw it out.
Can I vacuum seal warm food?
Never. Always chill food to at least 4 degrees Celsius before sealing. Sealing warm food creates steam, which interferes with the vacuum pressure and can lead to a weak seal and premature spoilage.
What is the best bag for long-term freezing?
Use multi-ply, BPA-free bags specifically rated for "long-term storage." These have thicker oxygen barriers that prevent freezer burn and keep the fats from oxidizing and becoming rancid over several months.
Why does my meat look grey inside the bag?
This is due to a lack of oxygen, which turns myoglobin into metmyoglobin. Once you open the bag and expose the meat to air, it will "bloom" back to a bright red color within fifteen minutes.
Is it safe to cook in plastic?
Yes, provided you use food-grade polyethylene or polypropylene bags rated for high temperatures. Avoid cheap wraps or bags containing PVC or phthalates, as these can leach chemicals into your food during the heating process.