Forget the soggy, waterlogged mush of your past. We are entering the realm of precision culinary engineering where the seed coat of a Chenopodium quinoa grain meets the high-pressure environment of a modern electric cooker. This is not just a side dish; it is a structural marvel. When you master Instant Pot Quinoa, you are manipulating the hydrothermal gelatinization of starch molecules under a controlled atmosphere. We are looking for that elusive pop; the moment the germ ring detaches and curls like a tiny white halo around a perfectly tender pearl. Most home cooks treat quinoa like rice, but that is a fundamental category error. Quinoa is a pseudo-cereal that demands respect for its expansion ratios. If you fail to calibrate your liquid to grain proportions, you end up with a viscous swamp or a grit-filled disappointment. We are here to audit your infrastructure, streamline your workflow, and ensure every grain is an aerated vessel of flavor. Let us calibrate the sensors and prepare for pressurized fluffing.
THE DATA MATRIX
| Metric | Specification |
|---|---|
| Prep Time | 2 Minutes |
| Execution Time | 1 Minute (High Pressure) |
| Yield | 3.5x Initial Volume |
| Complexity (1-10) | 2 |
| Estimated Cost per Serving | $0.45 USD |
THE GATHERS
Ingredient Protocol:
- 200g / 1 cup Pre-rinsed White or Tri-color Quinoa
- 240ml / 1 cup Filtered Water or Bone Broth
- 2.5g / 0.5 tsp Fine Sea Salt
- 5ml / 1 tsp Extra Virgin Olive Oil or Ghee
Section A: Ingredient Quality Audit:
The primary failure point in quinoa infrastructure is the Saponin Barrier. Saponins are bitter, soap-like compounds that coat the exterior of the seed to deter pests. If your raw material tastes like dirt, your rinsing protocol is insufficient. Even "pre-washed" bags often harbor residual dust. Technical fix: Use a fine-mesh sieve and agitate the grains under cold running water for sixty seconds until the runoff is crystal clear. Another common fault is using stale grains. Quinoa contains natural oils that can go rancid. Perform a sensory audit before cooking; if the dry grain smells musty rather than nutty, the lipid profile has oxidized and will produce a bitter final product.
THE MASTERCLASS
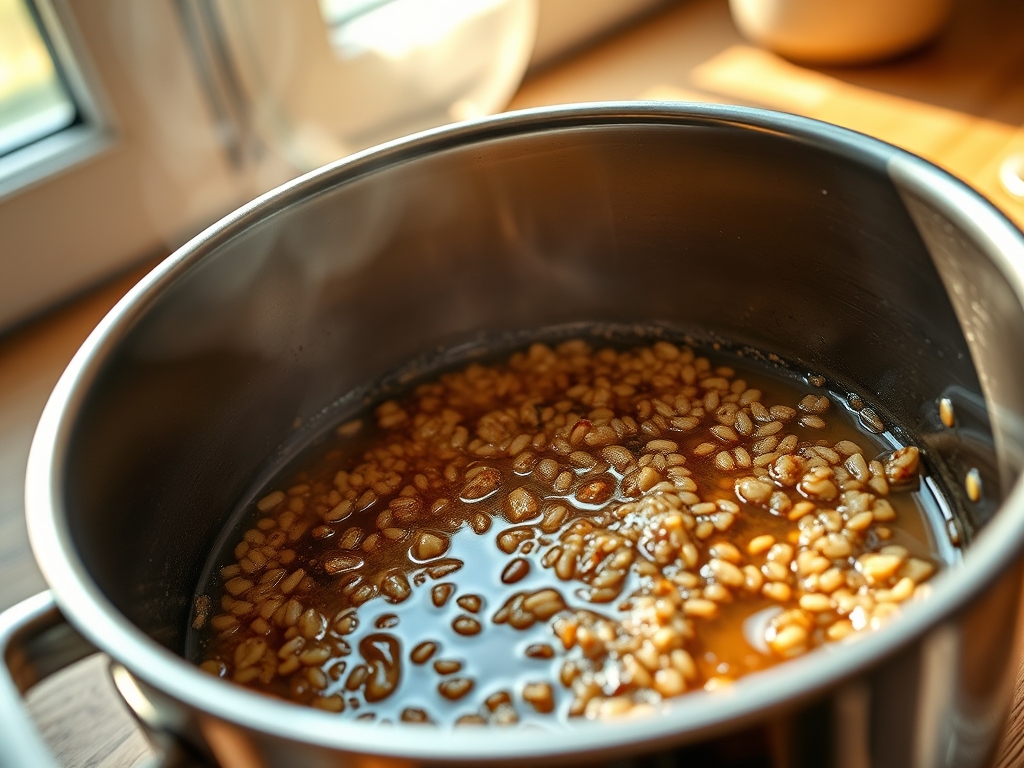
Step 1: The Dry Desiccation
Place your dry, rinsed quinoa into the inner pot and select the "Sauté" function. Stir constantly for two minutes to evaporate residual moisture. You are looking for a faint nutty aroma and a slight golden hue.
Pro Tip: This step utilizes the Maillard Reaction to create complex flavor compounds before the liquid is introduced. Use a silicone spatula or a wooden spoon to ensure no grains stick to the bottom, which could trigger a "burn" sensor later.
Step 2: The Liquid Calibration
Pour in your 240ml of liquid and salt. Scrape the bottom of the pot to deglaze any toasted starches. This ensures a clean heat transfer during the pressure cycle.
Pro Tip: For professional results, use a digital scale to measure your liquid by weight (1ml = 1g). Volumetric cups are notoriously inaccurate due to surface tension and human error. Precision is the enemy of mushy texture.
Step 3: Pressurization and Sealing
Secure the lid and set the valve to the "Sealing" position. Program the unit for 1 minute on High Pressure. This seems short, but the "come to pressure" time provides the necessary thermal energy to hydrate the grains.
Pro Tip: Modern electric pressure cookers function as autoclaves for food. The elevated atmospheric pressure raises the boiling point of water, forcing hydration into the center of the grain faster than boiling ever could.
Step 4: The Natural Release Phase
Once the timer chirps, do not touch the valve. Allow the pressure to drop naturally for 10 minutes. This allows the steam to infuse back into the grains, completing the expansion without the violent agitation of a quick release.
Pro Tip: A quick release causes a sudden drop in pressure that can rupture the delicate seed coats, leading to a "blown out" appearance. Patience here preserves the structural integrity of the germ.
Step 5: The Aeration Ritual
Remove the lid and use a fork or a wide bench scraper to gently lift and separate the grains. Do not stir vigorously; you want to introduce air to help the steam escape.
Pro Tip: Aerating the quinoa prevents the bottom layers from overcooking in their own residual heat. This ensures a uniform texture from the top of the pot to the base.
Section B: Prep & Timing Fault-Lines:
Timing errors usually stem from the "Keep Warm" setting. If you leave the quinoa on the active heating element for more than 15 minutes after the natural release, the bottom layer will dehydrate and form a crust. If your unit is particularly hot, the residual heat can render the bottom grains into a scorched mass. Always pull the inner pot out of the housing immediately after fluffing to halt the thermal carryover.
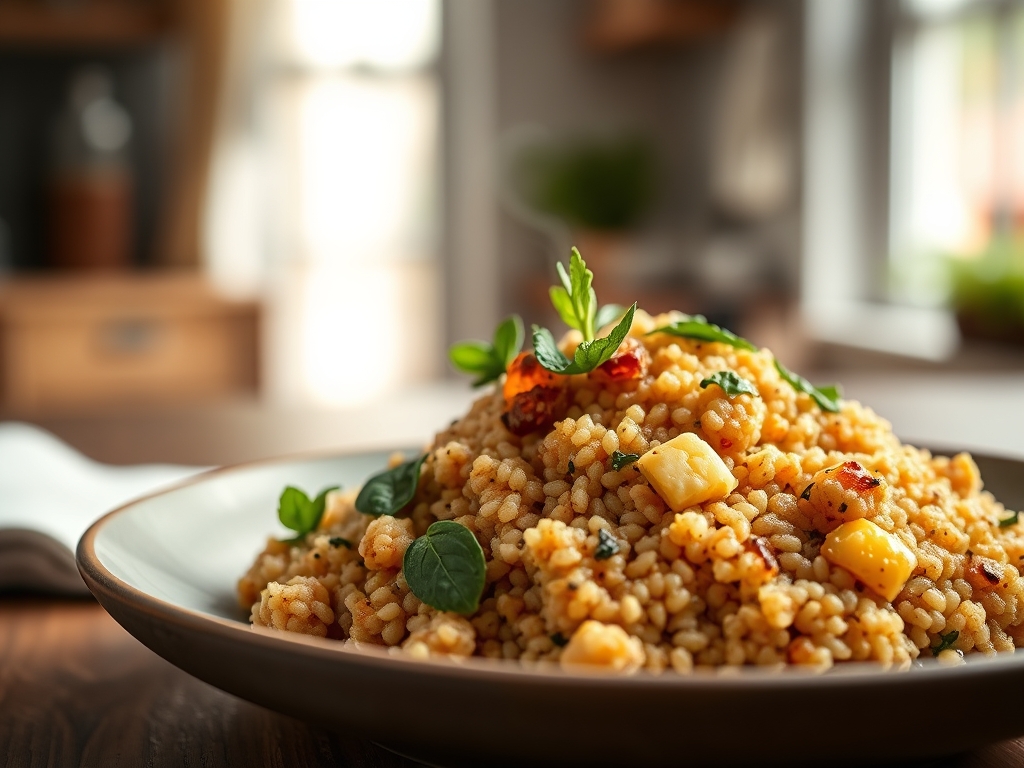
THE VISUAL SPECTRUM
Section C: Thermal & Visual Troubleshooting:
Referencing the Masterclass photo, your Instant Pot Quinoa should exhibit distinct, individual grains with visible "tails" (the germ). If the color is dull or grey, you likely skipped the rinsing or toasting phase. If the texture looks clumped or wet, your liquid-to-grain ratio was too high. The photo shows a "fluffed" architecture where the grains sit loosely against one another. To achieve this, ensure your water is not overly hard; high mineral content can interfere with the softening of the outer husk. If your quinoa looks unevenly cooked, check your sealing ring for leaks. A loss of pressure during the cycle prevents even heat distribution.
THE DEEP DIVE
Macro Nutrition Profile:
A standard 185g serving of cooked quinoa provides approximately 222 calories, 8g of protein, and 5g of fiber. It is a complete protein, containing all nine essential amino acids. This makes it an essential infrastructure component for plant-based diets.
Dietary Swaps:
- Vegan: Use vegetable bouillon or mushroom dashi to infuse deep umami flavors.
- Keto: Quinoa is not keto-friendly due to its high carbohydrate count. Substitute with riced cauliflower using the same pressure settings but zero added water.
- GF: Quinoa is naturally gluten-free, but ensure your source is certified to avoid cross-contamination.
Meal Prep & Reheating Science:
Quinoa holds its molecular structure exceptionally well when refrigerated. To reheat, add a teaspoon of water per cup of quinoa and microwave covered. This creates a localized steam environment that re-hydrates the starch without making it viscous. For long-term storage, flash-freeze on a sheet tray before bagging to maintain individual grain separation.
THE KITCHEN TABLE
Why is my quinoa still crunchy?
The pressure didn't fully build or your ratio was skewed. Ensure the sealing ring is seated. If it happens again, add 20ml extra water next time. The age of the grain can also affect hydration rates significantly.
Can I double the recipe easily?
Yes. Double the ingredients but keep the cook time at 1 minute. The Instant Pot takes longer to reach pressure with more volume, which naturally accounts for the extra mass. The expansion ratio remains constant regardless of total volume.
Is broth better than water?
Absolutely. Water provides hydration, but broth provides a flavor matrix. Use a low-sodium stock to control the salinity. You can also add a bay leaf or a smashed garlic clove during the pressure cycle for aromatic depth.
How do I fix soggy quinoa?
If you opened the pot and it is too wet, hit the "Sauté" button for 2 minutes and stir gently. This will evaporate the excess moisture. Spread it on a baking sheet to cool quickly and stop the cooking process.