Stop treating your refrigerator like a graveyard for forgotten carbohydrates and start treating it like a high performance logistics hub. If you are staring at a clump of congealed, lackluster grains, you have failed the first rule of culinary infrastructure. We are here to talk about the backbone of the modern meal prep ecosystem: Batch Prepped Rice. This is not merely about boiling water; it is a clinical exercise in moisture management and the strategic manipulation of amylopectin. When executed with precision, Batch Prepped Rice becomes a versatile substrate capable of absorbing piquant sauces or undergoing a secondary Maillard reaction in a blazing hot wok. We are auditing your process from the grain up to ensure that every kernel maintains its structural integrity through the rigors of the cooling cycle. Forget the mushy, over-saturated failures of your past. We are building a foundation of firm, distinct grains that stand up to the pressure of a midweek rush. It is time to optimize your starch output and reclaim your culinary dignity.
THE DATA MATRIX
| Metric | Specification |
|---|---|
| Prep Time | 10 Minutes |
| Execution Time | 25 Minutes |
| Yield | 1.5 kg / 6-8 Servings |
| Complexity (1-10) | 3 |
| Estimated Cost per Serving | $0.22 USD |
THE GATHERS
Ingredient Protocol:
- 600g / 3 cups Long-grain white rice (Jasmine or Basmati preferred)
- 950ml / 4 cups Filtered water (Adjust based on atmospheric humidity)
- 15g / 1 tbsp Kosher salt
- 15ml / 1 tbsp Neutral oil (Grapeseed or Avocado oil)
- 1 Bay leaf (Optional for aromatic infusion)
Section A: Ingredient Quality Audit:
The most common failure point in the Batch Prepped Rice lifecycle is the selection of a low-density grain with a high broken-kernel percentage. Broken grains release excess starch prematurely, leading to a viscous, glue-like texture that ruins the audit. If your raw rice looks dusty or opaque, it requires an aggressive rinse cycle. Technical fix: Place grains in a fine-mesh sieve and agitate under cold running water until the effluent runs perfectly clear. This removes surface starch that would otherwise gelatinize into a sticky mess. Furthermore, if your local water supply has high mineral content, it can affect the pH of the cooking environment. Use filtered water to ensure the delicate aromatics of the rice are not suppressed by chlorine or calcium deposits.
THE MASTERCLASS
1. The Hydration Phase
Place your rinsed grains into a heavy-bottomed saucier or a high-quality rice cooker insert. Add the filtered water and salt. Use a digital scale to ensure your water-to-rice ratio is precise to the gram. Accuracy here prevents the dreaded "mush factor" that plagues amateur attempts.
Pro Tip: The science of hydration relies on the gradual swelling of the starch granules. Adding a small amount of neutral oil at this stage coats the individual grains, which helps to infuse the fat into the surface and prevents clumping during the later cooling phase.
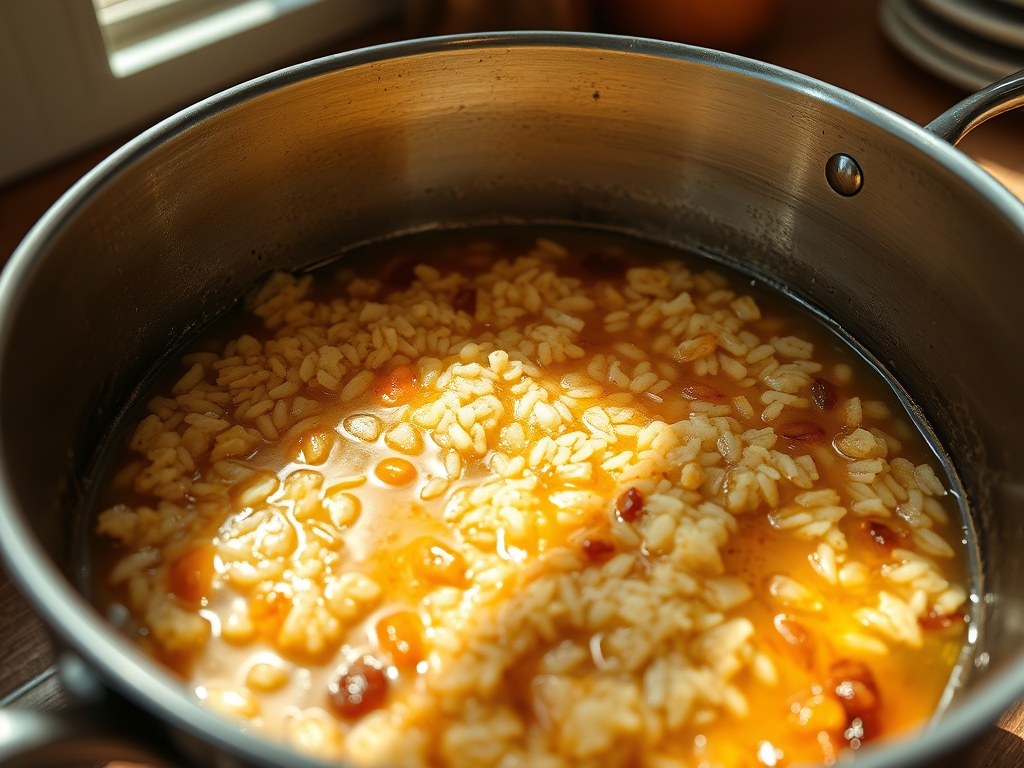
2. The Thermal Ascent
Bring the vessel to a boil over medium-high heat. Do not cover the pot yet. Use a silicone spatula to gently move the grains once or twice to ensure none are sticking to the floor of the pan. Once the water level drops to the surface of the rice and small steam vents begin to form, reduce the heat to the lowest possible setting.
Pro Tip: This is the "absorption method" at its peak. By waiting for the steam vents to appear before capping the vessel, you ensure that the initial burst of energy has stabilized the grain structure before the steam finishing begins.
3. The Atmospheric Seal
Cover the vessel with a tight-fitting lid. If your lid is loose, wrap it in a clean kitchen towel to create a superior seal. Maintain the low heat for exactly 15 minutes. Do not, under any circumstances, lift the lid during this window. You are creating a pressurized steam environment that is essential for uniform cooking.
Pro Tip: Professional chefs often use a bench scraper to ensure the lid is seated perfectly level. Any loss of steam results in unevenly cooked "crunchy" grains at the top and overcooked grains at the bottom.
4. The Retrogradation Launch
Remove the vessel from the heat and let it sit, still covered, for 10 minutes. Afterward, spread the rice onto a large sheet pan. Use a fork or a rice paddle to gently aerate the grains, breaking up any clusters without crushing the individual kernels.
Pro Tip: Spreading the rice on a flat surface increases the surface area for rapid cooling. This triggers retrogradation, where the starch molecules realign into a firmer structure, making the rice ideal for reheating or frying later.
Section B: Prep & Timing Fault-Lines:
Timing is the silent killer of quality starch. If you leave the rice in the pot after the heat is turned off, the residual thermal mass will continue to cook the bottom layer, leading to scorching or "socarrat" that you might not want for a standard batch prep. If your rice is too wet, you likely failed to account for the steam trapped in the pot. Technical fix: If the rice is slightly over-hydrated, spread it on a sheet pan and place it in a 150 degree oven for five minutes to render out the excess moisture before refrigeration.
THE VISUAL SPECTRUM
Section C: Thermal & Visual Troubleshooting:
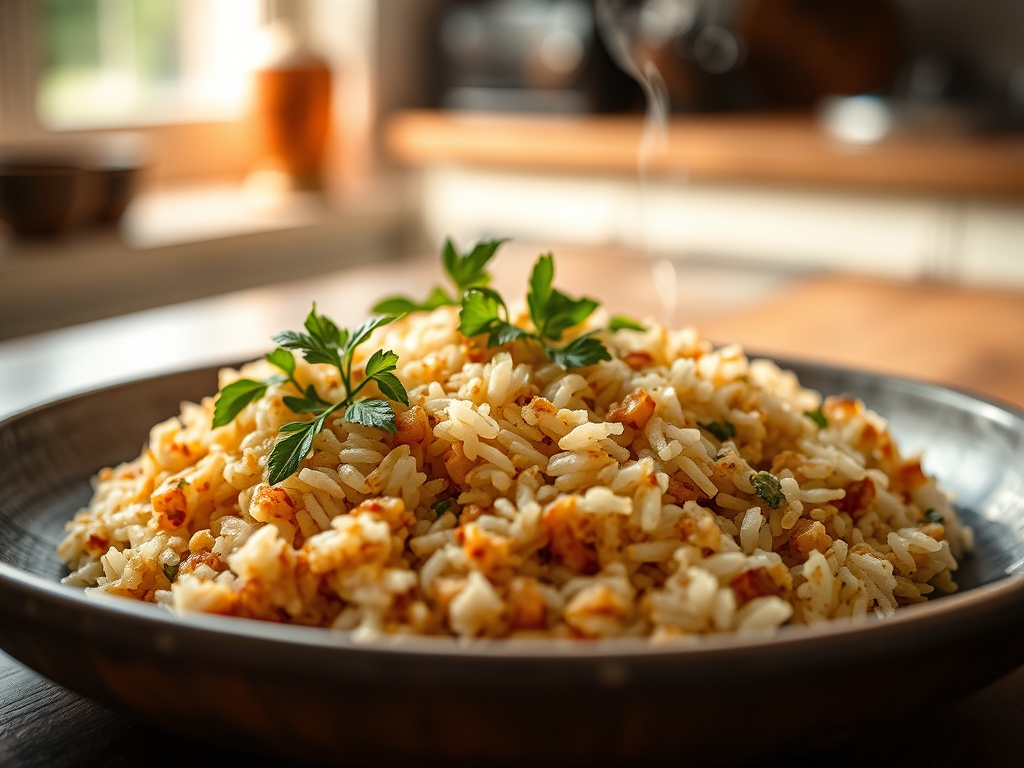
Referencing the Masterclass photo, your Batch Prepped Rice should exhibit a distinct "individual grain" profile. If the rice appears as a monolithic block, your rinsing phase was insufficient. If the color is dull or gray, check your water quality or the cleanliness of your saucier.
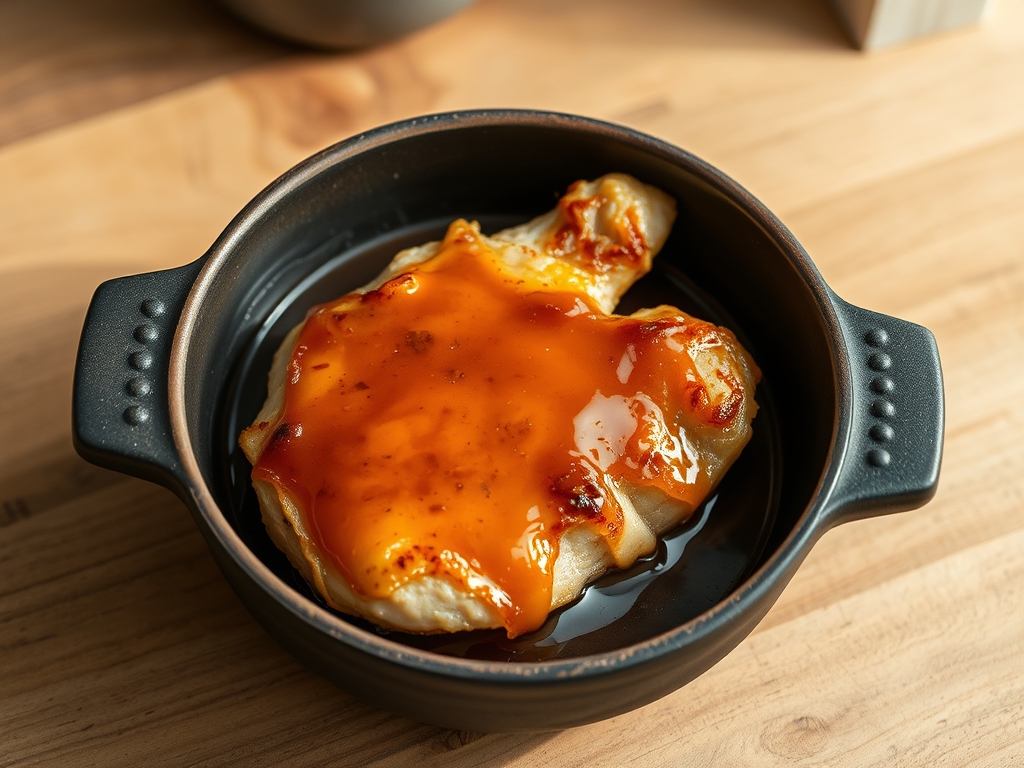
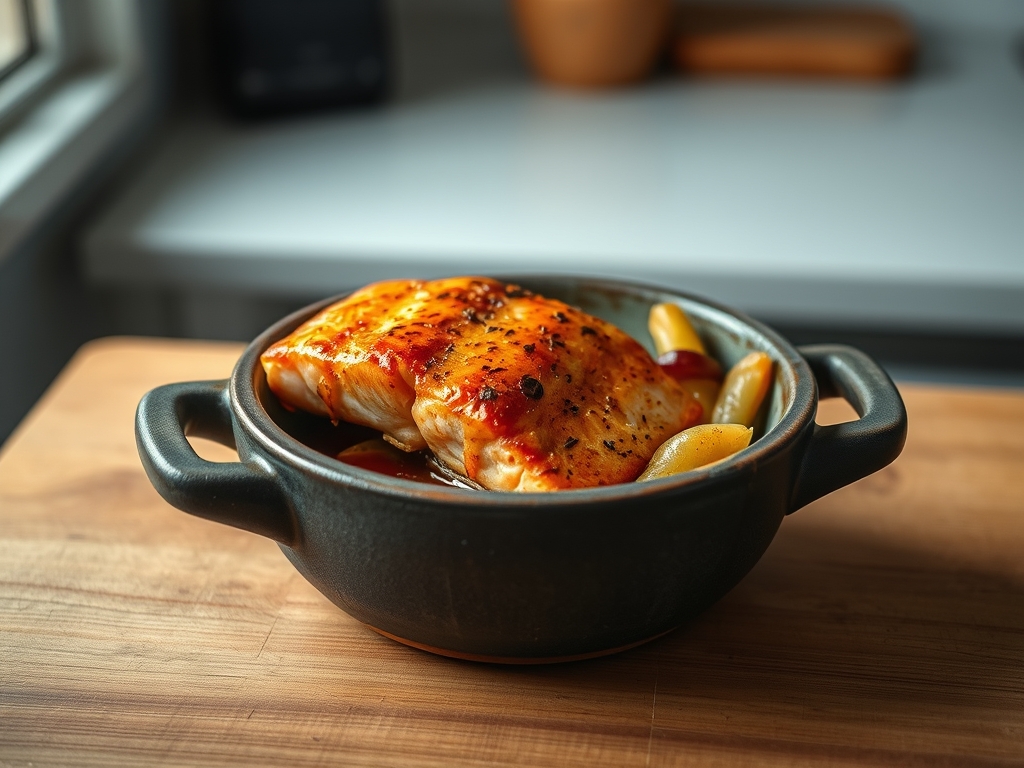
- Uneven Browning: If you are using this rice for stir-fry and it burns before it browns, the sugar content is too high. Ensure you are not adding seasonings with sugar during the initial boil.
- Translucent Edges: This indicates the rice is perfectly gelatinized. If the center is still opaque white, it is undercooked and requires a longer "rest" period under the lid.
- Yellowing: This is often a sign of oxidation or old grain stock. Always check the "milled on" date on your bulk bags.
THE DEEP DIVE
Macro Nutrition Profile:
Per 150g serving (cooked): 195 Calories, 4.2g Protein, 43g Carbohydrates, 0.5g Fat. Rice is a clean, low-fat energy source that provides a steady release of glucose when paired with fiber.
Dietary Swaps:
- Vegan: Naturally compliant. Use vegetable bouillon instead of water for deeper flavor.
- Keto: Substitute with riced cauliflower. Note that cauliflower requires zero additional water; simply sauté in a saucier with fat until tender.
- GF: All pure rice is gluten-free, but ensure your salt or additives are not processed in a facility with wheat.
Meal Prep & Reheating Science:
The goal of Batch Prepped Rice is to manage retrograded starch. When rice cools, the amylose crystallizes. To reheat, you must "melt" these crystals by adding a teaspoon of water and covering the dish during microwaving. This creates a mini-steam chamber that returns the rice to its original supple state without making it soggy.
THE KITCHEN TABLE
How long does Batch Prepped Rice last in the fridge?
When stored in an airtight container, it remains optimal for 4 to 6 days. Ensure it reaches room temperature before sealing to prevent excess condensation, which leads to bacterial growth and premature spoilage.
Can I freeze my batch prepped grains?
Absolutely. Freeze in flat, single-serving portions. This maximizes surface area for quick thawing. When reheating from frozen, skip the defrost cycle and go straight to the steamer or microwave to preserve the molecular integrity of the grain.
Why is my rice always sticky even after rinsing?
You may be using short-grain rice, which has a higher amylopectin content. For distinct grains, always audit your supply chain for long-grain varieties. Also, ensure you aren't over-agitating the rice while it cooks, which releases internal starches.
What is the best way to fix undercooked rice?
Do not add cold water. Instead, spray the surface with a fine mist of boiling water, seal the lid tightly, and place it back on the lowest heat setting for five minutes. The steam will penetrate the hard cores.