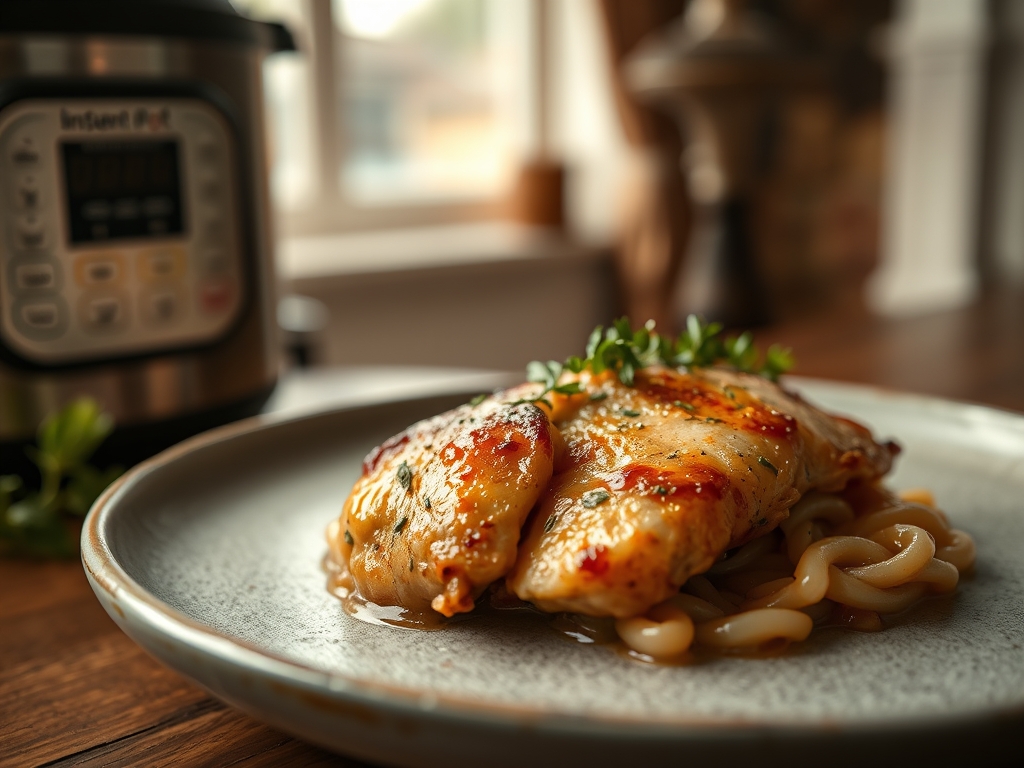
Listen to the hiss of the pressure valve as it orchestrates a symphony of flavor extraction. Most home cooks view their countertop pressure cooker as a mere convenience; however, as an infrastructure auditor of the culinary arts, I view it as a high-velocity particle accelerator for legumes and lipids. We are not just making dinner. We are engineering a high-density protein matrix known as Instant Pot Chili. This is a dish where time is compressed and flavor is forced into the very fibers of the beef through sheer atmospheric force. Forget the six-hour simmer on a dusty stove. We are leveraging the power of saturated steam to achieve a viscous, piquant masterpiece in under an hour. The goal is a deep, mahogany hue and a texture that clings to the spoon with defiant structural integrity. If your current chili lacks the tectonic weight of a professional build, you are likely suffering from poor heat distribution or a failure to properly manage the Maillard reaction. Let us recalibrate your kitchen protocol and build something legendary.
THE DATA MATRIX
| Metric | Specification |
|---|---|
| Prep Time | 15 Minutes |
| Execution Time | 35 Minutes |
| Yield | 6 – 8 Servings |
| Complexity (1-10) | 4 |
| Estimated Cost per Serving | $2.45 |
THE GATHERS
Ingredient Protocol:
- 900g / 2 lbs Ground Beef (80/20 lean-to-fat ratio)
- 1 large Yellow Onion, finely diced (approx. 250g)
- 3 cloves Garlic, minced (approx. 15g)
- 425g / 15 oz Kidney Beans, rinsed and drained
- 425g / 15 oz Black Beans, rinsed and drained
- 800g / 28 oz Crushed Tomatoes
- 180ml / 0.75 cup Beef Bone Broth
- 30ml / 2 tbsp Tomato Paste
- 45g / 3 tbsp Chili Powder
- 15g / 1 tbsp Cumin
- 5g / 1 tsp Smoked Paprika
- 10g / 2 tsp Kosher Salt
- 2g / 0.5 tsp Cayenne Pepper
Section A: Ingredient Quality Audit:
The primary failure point in most Instant Pot Chili builds is the moisture content of the aromatics. If your onions are translucent but weeping excess water, you will fail to achieve the necessary caramelization. Technical Fix: Use a bench scraper to transfer finely diced onions directly into a pre-heated vessel to shock the moisture out immediately. Furthermore, if using sub-par ground beef with a fat content higher than 20 percent, the resulting emulsion will be greasy rather than silky. Always render the fat and drain the excess before introducing the liquid phase. If your spices are older than six months, their volatile oils have dissipated. To fix this, "bloom" them in a small amount of oil for sixty seconds before adding the tomatoes to infuse the base with renewed potency.
THE MASTERCLASS
1. Searing the Protein Foundation
Set your pressure cooker to the highest "Sauté" setting. Once the display reads "Hot," add the ground beef. Do not stir immediately. Allow the meat to develop a dark, crusty exterior to maximize the Maillard reaction. Use a stiff spatula to break the meat into uniform morsels.
Pro Tip: Use a digital scale to ensure your meat portions are consistent. Achieving a deep sear is critical because the pressure cooking process does not allow for further browning once the lid is sealed; you are essentially "locking in" the color at this stage.
2. Aromatics and Deglazing
Add the onions and garlic to the rendered beef fat. Sauté until the onions are soft. Add the tomato paste and spices, stirring constantly for one minute. Pour in the beef bone broth and use a wooden spoon to scrape every brown bit from the bottom of the pot.
Pro Tip: This scraping process is known as a deglaze. If you leave any scorched particles on the bottom, the high-heat sensors of the Instant Pot may trigger a "Burn" error, halting your culinary momentum. A professional saucier would never leave flavor stuck to the pan.
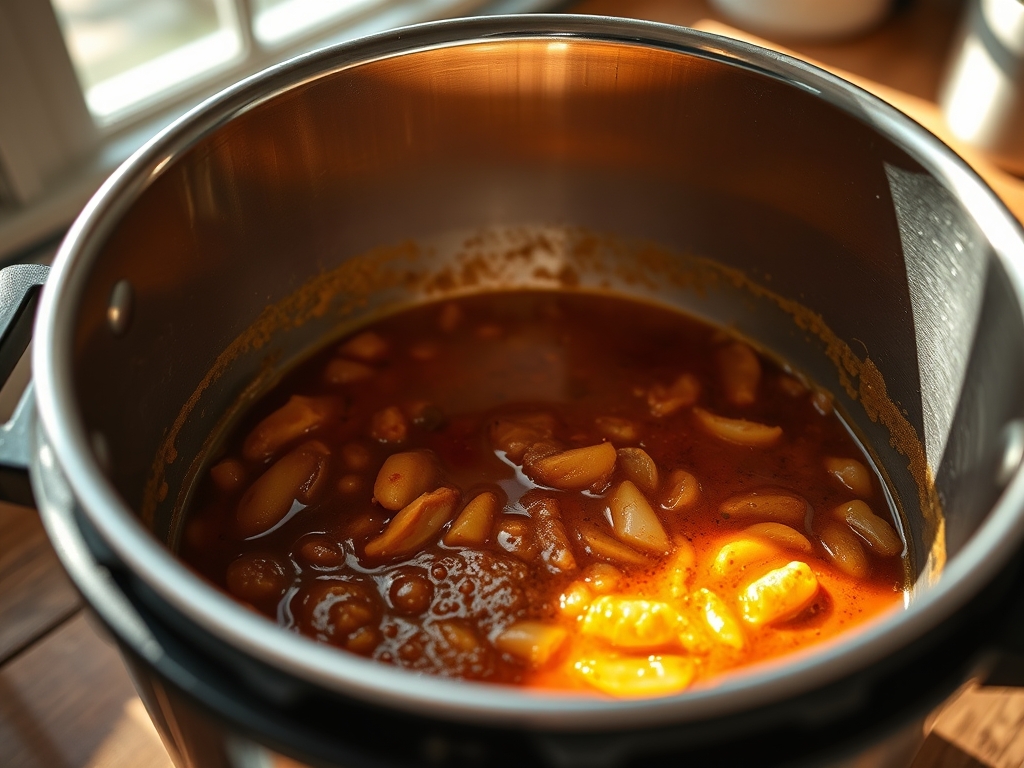
3. The Molecular Assembly
Add the crushed tomatoes and beans. Do not stir the tomatoes into the bottom; layer them on top of the meat and broth. This prevents the thick tomato sugars from settling on the heating element. Secure the lid and set the manual pressure to "High" for 20 minutes.
Pro Tip: Layering ingredients is a stratigraphic technique used to prevent scorching. By keeping the less viscous liquids (broth) at the bottom, you ensure even steam generation without the risk of carbonizing the tomato solids.
4. Controlled Depressurization
Once the timer expires, allow a natural pressure release for 10 minutes before manually venting the remaining steam. Open the lid and stir the mixture to incorporate the layers. If the consistency is too thin, use the Sauté function for 5 minutes to reduce the liquid.
Pro Tip: A natural release allows the protein fibers to relax. A sudden "Quick Release" can cause the internal moisture of the meat to boil violently, resulting in a toughened texture. Patience is a structural requirement.
Section B: Prep & Timing Fault-Lines:
Human error often manifests in the "Dump and Start" mentality. If you fail to allow the unit to pre-heat, your timing will be skewed. The "Execution Time" listed in the Data Matrix includes the time required for the vessel to reach pressure. If your ingredients are cold from the refrigerator, this "Come to Pressure" phase can take up to 15 minutes. Technical Fix: Temper your liquid ingredients to room temperature before adding them to the pot. This reduces the thermal load on the heating element and ensures a faster, more consistent cycle.
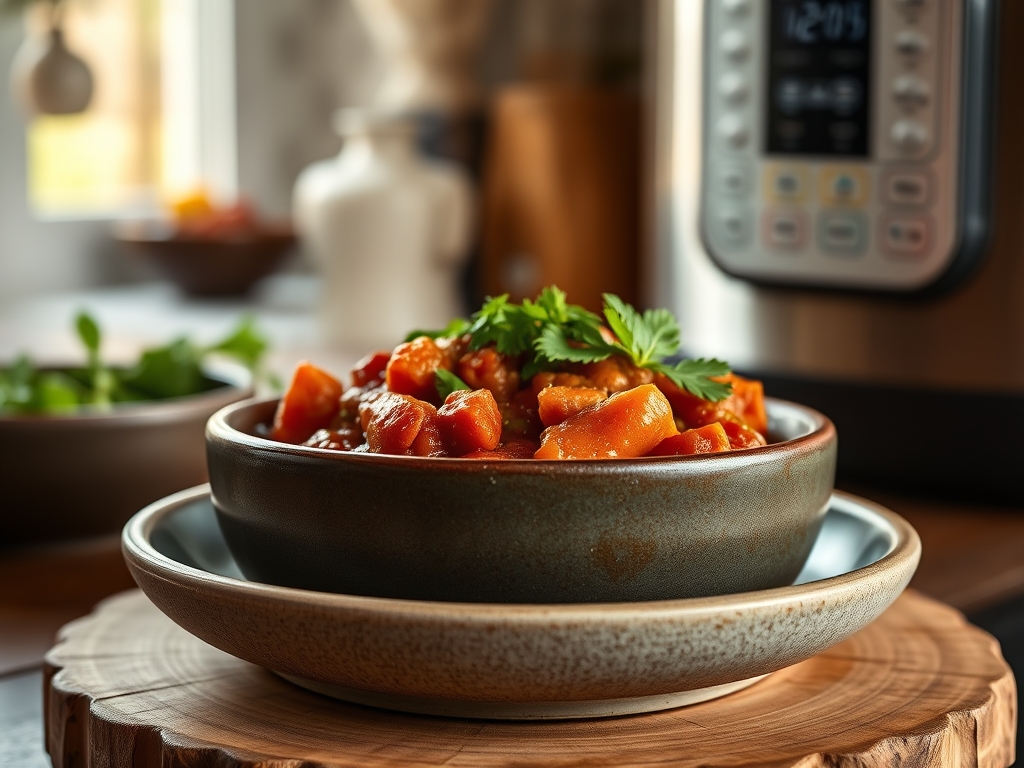
THE VISUAL SPECTRUM
Section C: Thermal & Visual Troubleshooting:
Referencing the Masterclass photo, notice the deep, brick-red saturation and the way the sauce coats the back of the beans. If your chili appears orange or pale, you have likely under-bloomed your spices or over-diluted the base with water. If the beans appear "blown out" or mushy, you have exceeded the structural limits of the legume; reduce your pressure time by 2 minutes in the next iteration. For dull colors, a splash of apple cider vinegar or lime juice at the end will aerate the flavor profile and brighten the visual contrast through acidity. If you see a layer of oil on top, your emulsion has broken. Stir in a slurry of cornmeal and water to bind the fats back into the sauce.
THE DEEP DIVE
Macro Nutrition Profile
A single serving of this infrastructure-grade chili provides approximately 350 calories, 28g of protein, 22g of carbohydrates, and 14g of fat. It is a high-density fuel source designed for maximum satiety. The fiber content from the dual-bean matrix ensures a slow glycemic response.
Dietary Swaps
- Vegan: Replace ground beef with textured vegetable protein or extra firm crumbled tofu. Substitute beef broth with mushroom dashi for depth.
- Keto: Eliminate the beans entirely. Increase the beef to 1.4kg / 3 lbs and add diced bell peppers for texture.
- Gluten-Free: This recipe is naturally GF, provided your chili powder does not contain anti-caking agents derived from wheat.
Meal Prep & Reheating Science
Chili is one of the few dishes that improves with age. As it cools, the flavors continue to infuse and the starches from the beans further thicken the liquid. When reheating, avoid the microwave if possible. Use a small pot over medium heat and add a tablespoon of water to restore the viscous flow without scorching the proteins.
THE KITCHEN TABLE
Why did my Instant Pot show a "Burn" error?
This usually occurs when tomato solids or bits of meat are stuck to the bottom. Ensure you deglaze thoroughly with broth before sealing the lid, and always layer tomatoes on top without stirring them into the base.
Can I use dried beans instead of canned?
Yes, but the infrastructure changes. You must pre-soak the beans or increase the pressure cooking time to 45 minutes. You will also need to increase the broth by 500ml to account for the hydration of the dried legumes.
Is it possible to overcook chili in a pressure cooker?
Absolutely. Excessive time will turn your beans into a paste and your beef into flavorless strings. Stick to the 20-minute window for canned beans to maintain the structural integrity of the individual components.
How do I make the chili even thicker?
Use the Sauté function after the pressure cycle is complete. Simmer with the lid off for 5 to 10 minutes. Alternatively, mash a handful of the kidney beans against the side of the pot to release their internal starches.