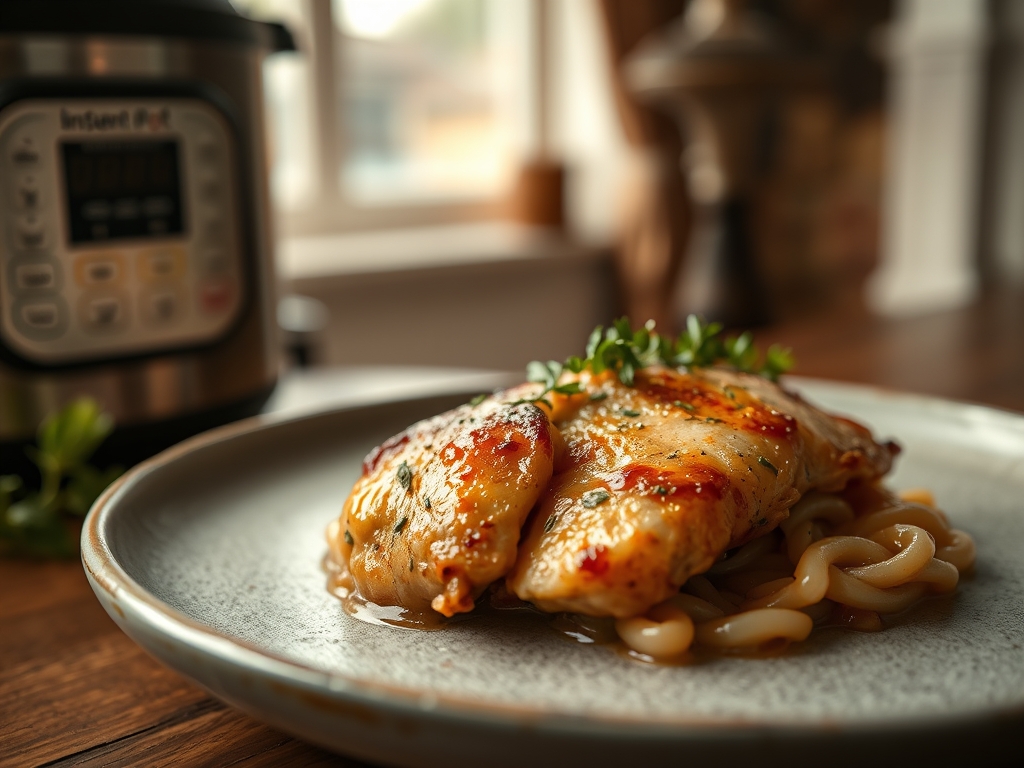
Stop wasting your temporal currency on the archaic ritual of the overnight soak. We are operating in a high speed culinary theater where the laws of thermodynamics allow us to bypass the lethargy of traditional legume preparation. The air in your kitchen should vibrate with the scent of earthy, mineral rich legumes meeting the aggressive embrace of high pressure steam. Imagine a bowl of Instant Pot Black Beans where each sphere is a structural masterpiece; the skins are intact but yield to the slightest pressure to reveal a center as creamy as a French veloute. We are not just cooking; we are neutralizing lectins and unlocking bioavailable nutrients through a controlled thermal event. This is about the visceral satisfaction of a heavy glass lid sealing shut, the hiss of the steam release, and the eventual reveal of a deep, midnight purple broth that is thick with dissolved starches and aromatic oils. This is the infrastructure of a perfect meal, engineered for maximum efficiency and flavor density.
THE DATA MATRIX
| Metric | Specification |
|---|---|
| Prep Time | 5 Minutes |
| Execution Time | 45 Minutes |
| Yield | 1.4 Liters / 6 Cups |
| Complexity (1-10) | 2 |
| Estimated Cost per Serving | $0.28 |
THE GATHERS
Ingredient Protocol:
- 450g / 1 lb Dry Black Beans (Unsoaked)
- 1.2 Liters / 5 Cups Filtered Water
- 15ml / 1 tbsp Extra Virgin Olive Oil
- 10g / 2 tsp Sea Salt
- 2 Large Garlic Cloves (Smashed)
- 1 Dried Bay Leaf
- 2g / 1 tsp Dried Mexican Oregano
- 1 Small Yellow Onion (Halved)
Section A: Ingredient Quality Audit:
The primary failure point in legume infrastructure is the age of the raw material. If your beans have been languishing in a pantry for over two years, the cellular walls have lignified to a point where even high pressure cannot force hydration. To troubleshoot "immortal beans," add 1g of baking soda to the liquid; this increases the pH and helps break down the hemicellulose in the skins. Furthermore, avoid adding acidic components like lime juice or tomato paste until the primary cook cycle is complete. Acids tighten the pectin in the bean skins, resulting in a graininess that no amount of pressure can rectify. Ensure your water is filtered; heavy mineral content can interfere with the softening process.
THE MASTERCLASS
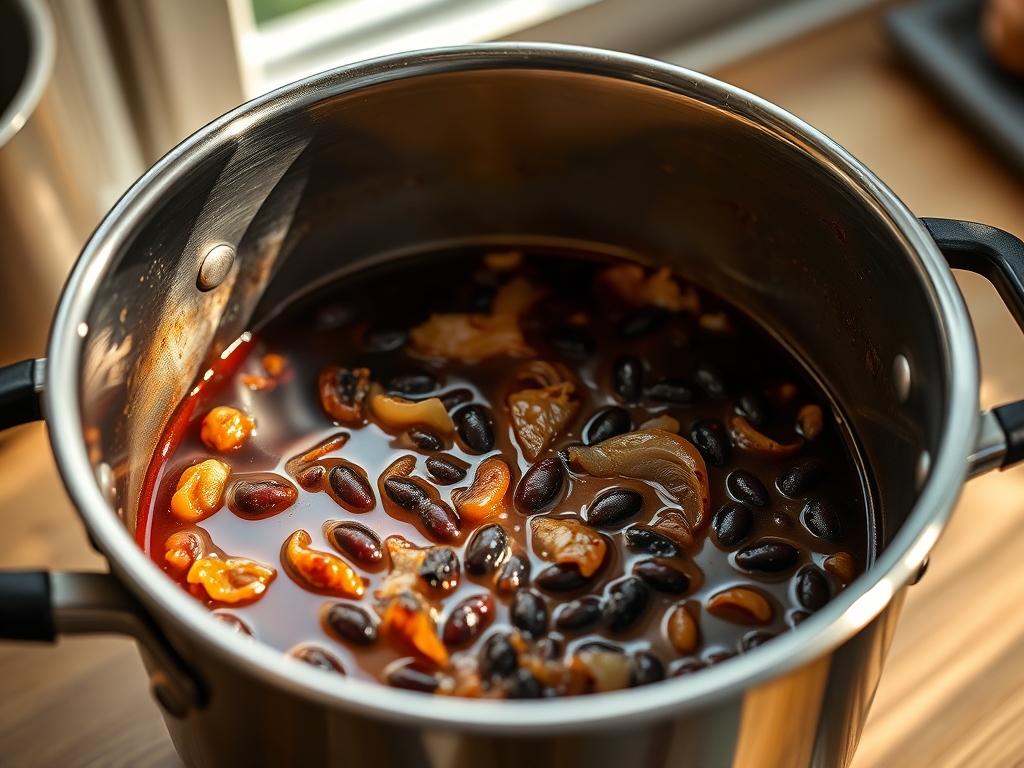
1. The Component Integration
Place your dry beans into a fine mesh colander and rinse under cold water to remove any field dust or debris. Transfer the beans into the inner pot of your pressure cooker. Add the onion, garlic, bay leaf, and oregano. Use a digital scale to ensure your water to bean ratio is precise; precision is the enemy of mediocrity.
Pro Tip: Adding the olive oil at this stage serves a mechanical purpose. It acts as a surfactant to minimize the foaming of proteins and starches, preventing the pressure valve from clogging during the venting phase.
2. The Pressurization Phase
Secure the lid and ensure the steam release valve is set to the sealing position. Program the unit for 30 minutes at High Pressure. The transition from ambient temperature to a pressurized state will infuse the aromatics directly into the heart of the bean.
Pro Tip: The science of "no soak" relies on the rapid agitation of water molecules at temperatures exceeding 212 degrees Fahrenheit. This force allows moisture to penetrate the hilum of the bean much faster than atmospheric soaking.
3. The Natural Dissipation
Once the timer expires, do not touch the valve. Allow for a 15 minute Natural Pressure Release (NPR). This period is crucial for structural integrity. A sudden drop in pressure causes the liquid inside the bean to expand rapidly, which will rupture the skins and turn your batch into a slurry.
Pro Tip: Use this time to prepare your secondary flavor vectors. A bench scraper is the ideal tool for clearing your workspace of any onion skins or garlic husks, maintaining a clean culinary environment.
4. The Final Emulsification
Open the lid and remove the spent onion halves and bay leaf. Stir in the salt now. If the liquid appears too thin, use a saucier or a heavy spoon to mash a small handful of beans against the side of the pot. Stir these back in to create a viscous, luxurious pot liquor.
Pro Tip: Salt is added at the end to prevent the skins from becoming tough. The residual heat is more than sufficient to allow the salt to penetrate the softened starch matrix.
Section B: Prep & Timing Fault-Lines:
Timing errors usually occur during the "Release" phase. If you are in a rush and perform a Quick Release, you risk "thermal shock." This manifests as beans that are cooked on the inside but have separated, curled skins. If your beans are still firm after the NPR, simply seal the lid and add 5 minutes of manual high pressure. The residual heat means the pot will come back to pressure almost instantly. Always verify your altitude; if you are above 3,000 feet, you must increase your cook time by 5 percent for every 1,000 feet of elevation.
THE VISUAL SPECTRUM
Section C: Thermal & Visual Troubleshooting:
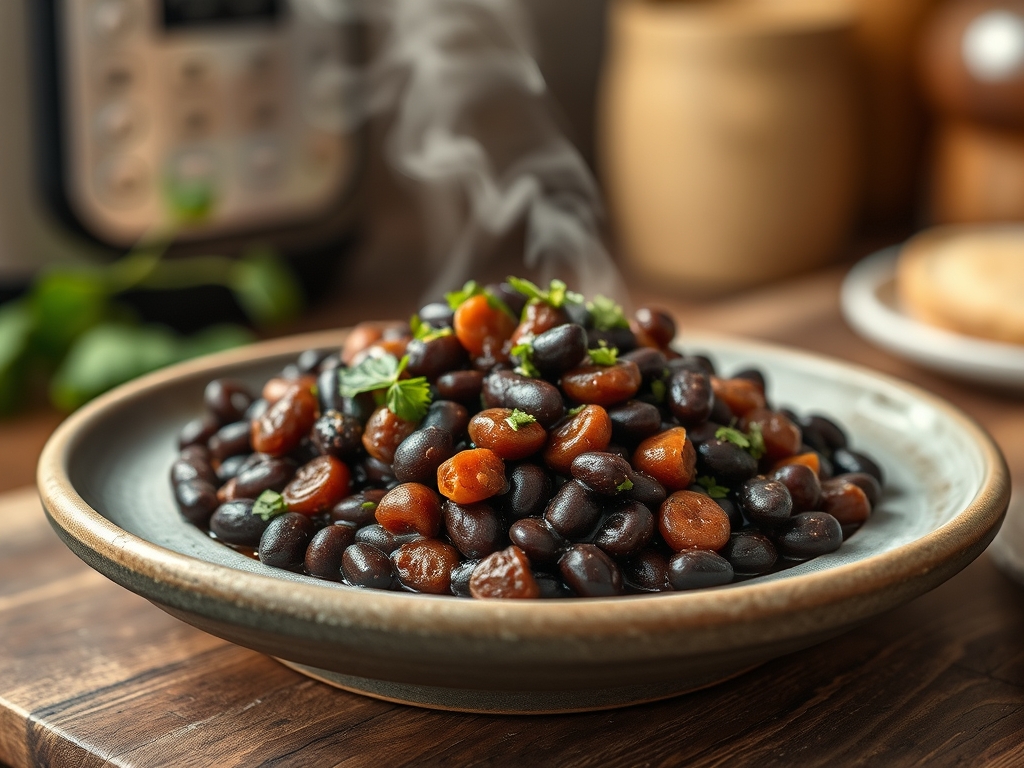
Observe the Masterclass photo; notice the deep, uniform pigment and the slight sheen on the surface of the beans. If your beans appear dull or grey, it indicates an oxidation issue or old stock. To fix a dull appearance, stir in a teaspoon of dark vinegar or a squeeze of citrus just before serving; the acid brightens the color and provides a piquant finish. If the liquid is too watery, the starch has not been sufficiently released. Switch the unit to the "Saute" function for 5 minutes to reduce the liquid and render a thicker consistency. Look for the "bloom" of the bean; they should look plump and saturated, not shriveled.
THE DEEP DIVE
Macro Nutrition Profile
A single cup of these engineered black beans provides 15g of protein and 15g of fiber. They are a powerhouse of complex carbohydrates with a low glycemic index. The pressure cooking process specifically targets and breaks down lectins and phytates, making the minerals like iron and magnesium more bioavailable to your system.
Dietary Swaps
- Vegan: This protocol is inherently vegan. For extra depth, add a piece of dried kombu to the pot to increase umami.
- Keto: While beans are high in carbs, you can reduce the serving size and pair with high fat proteins to manage insulin response.
- GF: Naturally gluten free; ensure your dried spices are certified to avoid cross contamination.
Meal Prep & Reheating Science
When storing, keep the beans submerged in their cooking liquid. This liquid acts as a protective colloid, preventing the beans from drying out. When reheating, do not use a microwave if possible; instead, use a small pot on the stove. Add a splash of water to aerate the sauce and prevent sticking. The starches will thicken as they cool, so you may need to re hydrate the mixture to maintain the original molecular structure.
THE KITCHEN TABLE
Why are my beans still crunchy after 30 minutes?
Your beans are likely old or your water is excessively hard. Add a pinch of baking soda and cook for an additional 10 minutes. The alkaline environment will force the stubborn fibers to soften.
Can I use this method for kidney beans?
Yes, but ensure a full boil/pressure cycle. Kidney beans contain high levels of phytohaemagglutinin, which must be destroyed by high heat. This pressure method is the safest way to neutralize those specific toxins.
Do I have to use the onion and garlic?
The aromatics provide the chemical backbone of the flavor profile. Without them, the beans will taste "flat." Even if you discard them later, their essential oils are vital for a professional result.
Is it safe to leave the beans on "Keep Warm"?
For up to four hours, yes. Beyond that, the beans will continue to break down and lose their structural integrity, eventually turning into a paste. For best results, cool and refrigerate promptly.