Listen closely. The sound you are chasing is not a crunch; it is a structural failure of poultry skin under extreme thermal stress. We are here to talk about Air Fryer Chicken Thighs, the ultimate benchmark of domestic culinary engineering. When you bite into a perfectly executed thigh, the skin should shatter like stained glass while the interior remains a reservoir of molten, savory lipids. Most home cooks treat their air fryer like a magic box, but we are auditors of the Maillard reaction. We do not hope for crispness; we mandate it through precise moisture management and airflow optimization. If your chicken emerges from the basket looking like a damp, beige disappointment, you have failed the infrastructure test. This guide is your corrective action plan. We are stripping away the guesswork and replacing it with a rigorous protocol designed to turn high intensity convection into your most powerful asset. Prepare to render fat with surgical precision and infuse flavor deep into the muscle fiber.
THE DATA MATRIX
| Metric | Specification |
|---|---|
| Prep Time | 15 Minutes |
| Execution Time | 22 Minutes |
| Yield | 4 Servings |
| Complexity | 3 / 10 |
| Estimated Cost per Serving | $2.45 USD |
THE GATHERS
Ingredient Protocol:
- 4 Bone-in, Skin-on Chicken Thighs (approx. 900g / 2 lbs)
- 15ml / 1 tbsp Avocado Oil (High smoke point essential)
- 10g / 2 tsp Kosher Salt
- 5g / 1 tsp Smoked Paprika
- 3g / 0.5 tsp Garlic Powder
- 2g / 0.5 tsp Cracked Black Pepper
- 1g / 0.25 tsp Cayenne Pepper (Optional for heat)
Section A: Ingredient Quality Audit:
The primary failure point in most Air Fryer Chicken Thighs is surface moisture. If your chicken arrives in a plastic tray sitting in a pool of "purge" (that pinkish liquid), the skin is already compromised. To fix this, you must perform a dry-brine. Salt the skin and leave it uncovered in the refrigerator for at least four hours. This process uses osmosis to draw moisture out, which then evaporates, leaving the skin tight and ready for rapid dehydration. Additionally, check the thickness of the fat pad. If it is excessively thick, use a sharp boning knife to trim the overhang. Excess fat that cannot render quickly enough will result in a rubbery texture rather than a crisp one. Finally, ensure your spices are fresh. Old paprika loses its volatile oils and will taste like sawdust once exposed to high-velocity air.
THE MASTERCLASS

1. The Surface Dehydration Protocol
Use a lint-free paper towel to pat each thigh until the surface is tacky to the touch. Any residual water will turn to steam in the air fryer, which is the enemy of the crisp. We want the oil to adhere directly to the protein.
Pro Tip: Use a digital scale to weigh your salt. Precision ensures that you reach the threshold of flavor without over-curing the delicate meat underneath the skin.
2. The Lipid Application
Place the thighs in a stainless steel mixing bowl and drizzle with avocado oil. Toss them vigorously to ensure an even, microscopic coating. This oil acts as a heat transfer medium, ensuring the convection air hits every crevice of the skin.
Pro Tip: A silicone pastry brush can help you get oil into the folds of the skin where the bone meets the meat; this prevents "pale spots" where the heat cannot penetrate.
3. The Spice Infusion
Whisk your dry ingredients in a small ramekin before sprinkling them over the chicken. Aim for a "snowfall" effect from about six inches above the bowl to ensure even distribution. Avoid clumps, as these will burn and become bitter.
Pro Tip: Use a bench scraper to clean your workstation immediately after seasoning. Cross-contamination is a breach of kitchen safety protocol that no auditor overlooks.
4. The Thermal Loading
Preheat your air fryer to 200C / 400F for five minutes. This ensures that the moment the chicken hits the basket, the rendering process begins. Place the thighs skin-side up with at least one inch of clearance between each piece.
Pro Tip: Use an infrared thermometer to verify the basket surface temperature. If the basket is cold, the bottom of the chicken will steam in its own juices.
5. The Convection Cycle
Air fry for 18 to 22 minutes. At the halfway mark, do not flip the chicken; instead, simply rotate the basket 180 degrees. Flipping puts the skin in contact with the grease-slicked bottom, which ruins the texture we have worked so hard to build.
Pro Tip: Use an instant-read probe thermometer to pull the chicken at an internal temperature of 74C / 165F. Thighs are forgiving and can even go to 80C / 175F for better collagen breakdown.
Section B: Prep & Timing Fault-Lines:
The most common human error is overcrowding the basket. If the thighs are touching, the air cannot circulate. This creates a "cold zone" where the skin remains flaccid and gray. If you are cooking for a crowd, execute in batches. Another fault-line is the "cold start." If you do not preheat, the chicken sits in a warm, humid environment for the first five minutes, which effectively poaches the skin. Always ensure the internal fan has reached maximum velocity and the heating element is glowing before the protein enters the chamber.
THE VISUAL SPECTRUM
Section C: Thermal & Visual Troubleshooting:
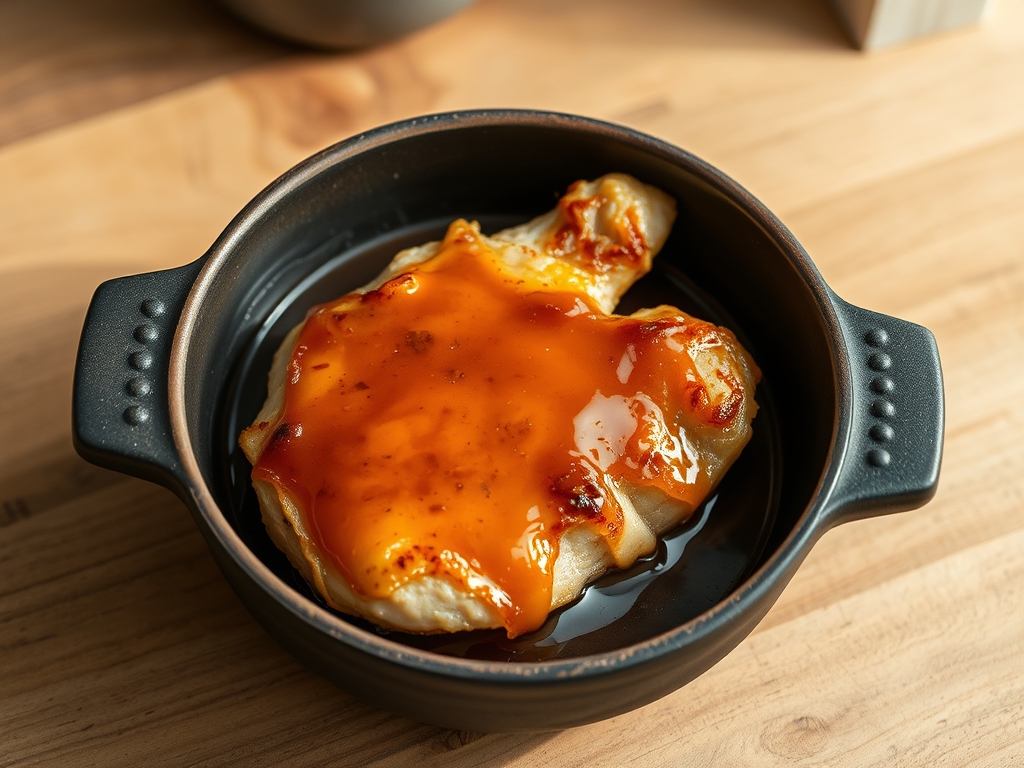
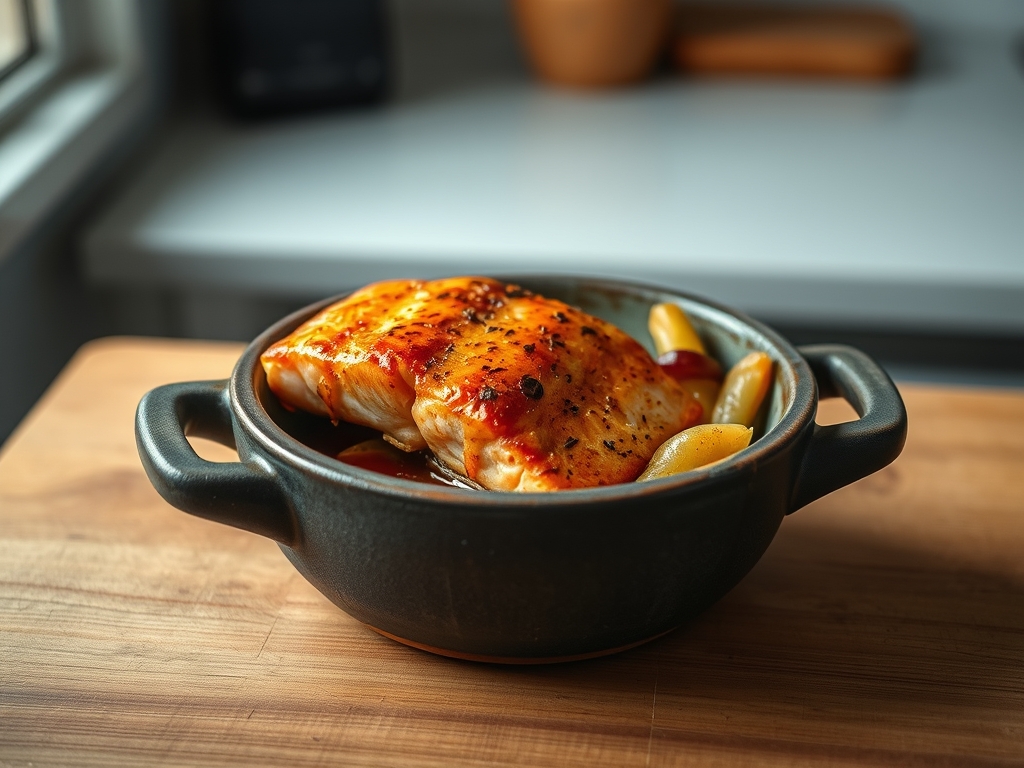
Look at the reference photo above. Notice the deep, mahogany hue of the skin and the way it appears "puffed" away from the meat. If your chicken looks pale or yellow, your temperature was too low or your oil coating was too thin. If the edges are black but the center is light, your spice rub contained too much sugar or you did not distribute the spices evenly. The "visual cue" for completion is a bubbling surface. When the fat is actively sizzling and the skin has a matte, crackled appearance, the infrastructure is sound. If you see "wet" spots on the skin, give it another two minutes at maximum heat to finish the rendering process.
THE DEEP DIVE
Macro Nutrition Profile:
A standard serving of two thighs provides approximately 450 calories, 35g of protein, and 32g of fat. While high in lipids, these are primarily monounsaturated fats when sourced from quality poultry. The zero-carb nature of this preparation makes it a staple for metabolic efficiency.
Dietary Swaps:
- Vegan: This protocol can be applied to "Hen of the Woods" mushrooms or extra-firm tofu pressed for 30 minutes. Use a starch coating (cornstarch or arrowroot) to mimic the skin's structural integrity.
- Keto/GF: This recipe is natively compliant. Avoid any "poultry seasoning" blends that use cornstarch or sugar as fillers.
Meal Prep & Reheating Science:
To maintain the molecular structure during reheating, avoid the microwave. The microwave agitates water molecules, which will turn your crisp skin into a rubbery shroud. Instead, return the thighs to the air fryer at 190C / 375F for 4 minutes. This re-activates the fats and recrisps the exterior without overcooking the interior.
THE KITCHEN TABLE
Why is my chicken skin rubbery?
The skin failed to reach the "glass transition" temperature because of excess moisture. Next time, dry the skin more aggressively or use a light dusting of baking powder to raise the pH and accelerate browning.
Can I use olive oil instead?
Extra virgin olive oil has a low smoke point and will oxidize, creating a piquant but bitter off-flavor. Use avocado or refined coconut oil for high-intensity convection tasks to ensure a clean flavor profile.
Do I need to flip the thighs?
No. In a high-quality air fryer, the air circulates under the rack. Flipping puts the pristine skin in contact with the basket floor, which can cause sticking and tearing. Keep them skin-side up for the duration.
How do I get the spices to stick without oil?
You don't. Oil is the adhesive and the thermal conductor. Without a viscous medium, the high-speed fan will simply blow your spices off the chicken and into the heating element, creating smoke and a bland meal.