Imagine the high velocity vortex of a commercial convection circuit condensed into a countertop powerhouse. We are talking about the transformation of a humble, lean protein into a golden, shimmering masterpiece of culinary engineering. When you commit to Air Fryer Tilapia, you are not just cooking dinner; you are managing a thermodynamic event. The air fryer functions as a miniature wind tunnel, stripping moisture from the surface of the fish at an accelerated rate to trigger the Maillard reaction without the heavy lipid load of traditional deep frying. The result is a flake so delicate it practically dissolves on the tongue, contrasted against a crust that provides a rhythmic crunch. This is the intersection of efficiency and elegance. We demand a finish that is vibrant, seasoned to the molecular level, and structurally sound enough to withstand the journey from the basket to the plate. Forget soggy, lackluster fillets. We are here to audit your infrastructure and ensure your whitefish achieves peak performance through precision heat application and strategic seasoning.
THE DATA MATRIX
| Metric | Specification |
|---|---|
| Prep Time | 10 Minutes |
| Execution Time | 12 Minutes |
| Yield | 4 Servings |
| Complexity | 3/10 |
| Estimated Cost per Serving | $2.75 USD |
THE GATHERS
Ingredient Protocol:
- 4 Tilapia Fillets (approx. 680g / 1.5 lbs)
- 30ml / 2 tbsp Extra Virgin Olive Oil
- 15g / 1 tbsp Smoked Paprika
- 5g / 1 tsp Garlic Powder
- 5g / 1 tsp Onion Powder
- 2g / 0.5 tsp Cayenne Pepper (for a piquant finish)
- 5g / 1 tsp Kosher Salt
- 3g / 0.5 tsp Cracked Black Pepper
- 1 Lemon (zested and sliced for garnish)
- 15g / 1 tbsp Fresh Parsley (finely minced)
Section A: Ingredient Quality Audit:
The primary failure point in whitefish preparation is "weeping" fillets. If your tilapia is releasing excess water, it was likely frozen and thawed improperly, compromising the cellular walls. To fix this, use a bench scraper to move the fillets onto a cooling rack set over a tray. Salt them lightly and let them sit for ten minutes; this draws out surface moisture which you must then blot away with lint-free towels. If your spices look dull or clumped, they have oxidized. To revive them, briefly toast the dry rub in a small saucier over low heat for sixty seconds before application to infuse the oils back into the powder.
THE MASTERCLASS
1. The Surface Dehydration Phase
The first law of the air fryer is that moisture is the enemy of the crunch. Use a digital scale to ensure your fillets are of uniform weight, then pat each one until the surface is bone dry. Apply a thin, viscous coating of olive oil. This acts as a thermal bridge, ensuring the dry rub adheres and the heat distributes evenly across the uneven topography of the fish.
Pro Tip: Use a high-quality silicone basting brush to ensure the oil reaches every crevice. Proper oil distribution facilitates a more rapid render of the surface proteins, leading to a superior crust.
2. The Dry Rub Integration
Combine your paprika, garlic, onion, salt, and peppers in a small stainless steel bowl. Dust the fillets generously from a height of six inches to ensure an even "snowfall" of seasoning. Do not rub the spices in aggressively; you want them to sit on the oil film to create a textured barrier.
Pro Tip: Weighing your spices on a digital scale ensures consistency across batches. Professional kitchens rely on ratios, not "vibes," to maintain flavor profiles.
3. The Thermal Calibration
Preheat your air fryer to 200C / 400F for at least five minutes. Placing fish into a cold basket is a recipe for structural collapse. Once the unit is up to temperature, arrange the fillets in a single layer, ensuring they do not overlap. Airflow is the primary engine of this cooking method; if the air cannot circulate, the fish will steam rather than fry.
Pro Tip: Use an infrared thermometer to verify the basket surface temperature. This ensures the fish begins cooking the micro-second it makes contact, preventing it from sticking to the grate.
4. The Execution and Extraction
Cook the tilapia for 8 to 12 minutes depending on thickness. At the halfway mark, use a wide fish spatula to gently check for release. If the fish resists, give it another minute. The internal temperature should hit 63C / 145F. Once reached, extract the fillets immediately to prevent carryover cooking from drying out the delicate flakes.
Pro Tip: A thin-slotted fish spatula is an essential professional tool here. Its flexibility allows you to slide under the fillet without breaking the fragile protein bonds that have just formed.
Section B: Prep & Timing Fault-Lines:
Timing errors usually stem from a lack of preheating or overcrowding. If your fish is "mushy" in the center but charred on the outside, your temperature was too high for the thickness of the fillet. Conversely, if the fish is pale after ten minutes, your air fryer's heating element may be failing to reach the set temperature. Always use a probe thermometer to audit the internal state of the protein rather than relying solely on the machine's timer.
THE VISUAL SPECTRUM
Section C: Thermal & Visual Troubleshooting:
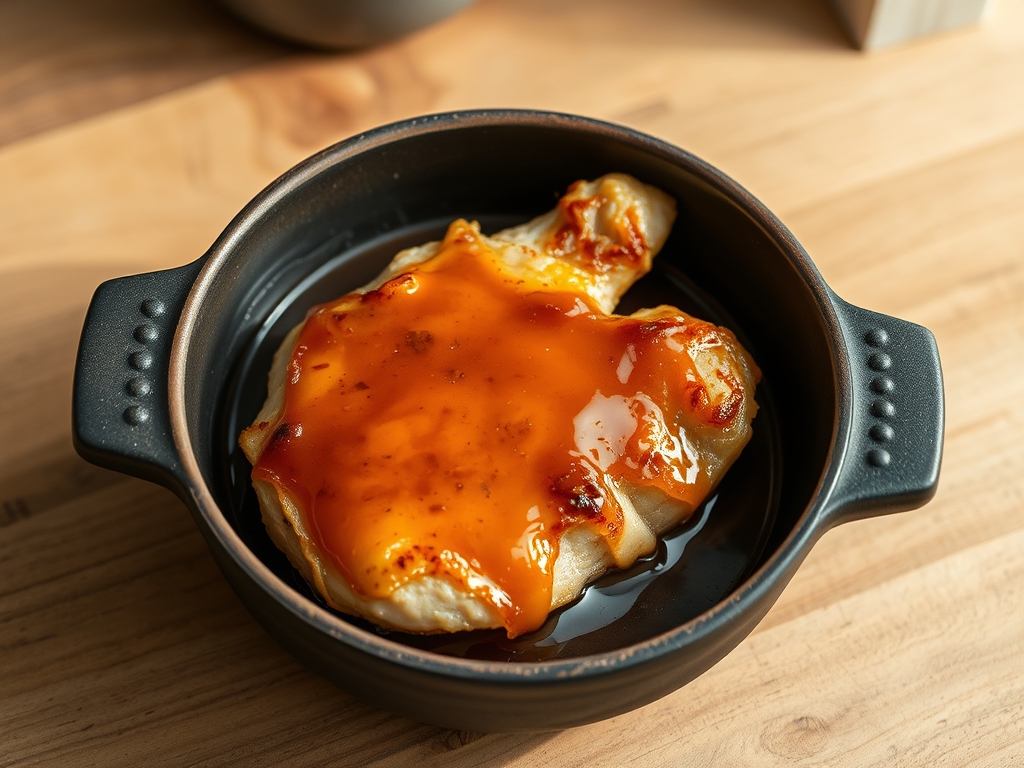
Referencing our Masterclass photo, you should see a vibrant, rust-colored crust with visible flecks of black pepper and bright green parsley. If your fish looks "dusty," you used too much dry rub and not enough oil; the spices did not hydrate and fry. If the edges are curled excessively, the heat was too aggressive, causing the connective tissues to contract too rapidly. A perfect Air Fryer Tilapia should have a matte finish with occasional glistening spots where the natural oils have surfaced. If the color is dull, a fresh hit of lemon zest post-cook will provide the acidity needed to "wake up" the visual and flavor profile.
THE DEEP DIVE
Macro Nutrition Profile
A standard serving of this Air Fryer Tilapia provides approximately 35g of protein, 6g of fat, and 2g of carbohydrates. It is a high-density protein source with a low caloric footprint, making it ideal for metabolic optimization.
Dietary Swaps
- Vegan: Replace tilapia with thick-cut "steaks" of cauliflower or hearts of palm. Use a light coating of chickpea flour to mimic the protein structure.
- Keto: This recipe is inherently Keto-compliant. Ensure your smoked paprika does not contain added sugars or fillers.
- GF: Ensure your spice blends are certified gluten-free. Tilapia is naturally GF, making this an easy win for sensitive systems.
Meal Prep & Reheating Science
To maintain the molecular structure during reheating, avoid the microwave at all costs. The microwave agitates water molecules, which will turn your crisp fish into a rubbery mess. Instead, return the fish to the air fryer at 175C / 350F for 3 minutes. This will aerate the crust and gently warm the interior without overcoagulating the proteins.
THE KITCHEN TABLE
How do I stop the fish from sticking?
Ensure the basket is preheated and lightly lubricated. A high-smoke point oil spray or a thin layer of oil on the fish itself creates a barrier. Use a flexible fish spatula for a clean extraction every time.
Can I cook frozen tilapia directly?
You can, but the texture suffers. Frozen fillets release significant moisture, which prevents the Maillard reaction. For the best infrastructure, thaw the fish in the refrigerator overnight and pat dry before the seasoning phase begins.
Why is my fish rubbery?
Overcooking is the culprit. Tilapia is a lean fish with very little collagen. Once it passes 65C / 150F, the protein fibers tighten and squeeze out all moisture. Use a digital thermometer to pull the fish at exactly 63C.
What is the best way to add flavor?
Infuse your oil with aromatics or use a high-quality smoked paprika. The air fryer excels at intensifying dry spices. Adding a splash of lemon juice only after cooking prevents the acid from "cooking" the fish prematurely and turning it mushy.