The scent of high pressure steam escaping a silicone gasket is the siren song of the modern kitchen. We are no longer content with the erratic, starch choked results of the stovetop pot. We demand architectural precision. When you master Instant Pot Rice, you are not just cooking a side dish; you are conducting a symphony of thermal dynamics and moisture absorption. The goal is a grain that stands independent and proud, possessing a distinct "tooth" while remaining tender to the core. This is about the physics of the gelatinization point. We are looking for that perfect ratio where the amylose and amylopectin molecules behave with military discipline. Forget the gummy, over-hydrated piles of the past. We are building a foundation of fluff. Every grain must be an individual, coated in just enough moisture to glisten but not enough to stick. This is the gold standard of domestic infrastructure. It is time to audit your technique and recalibrate your expectations for what a pressure cooker can truly achieve.
THE DATA MATRIX
| Metric | Specification |
|---|---|
| Prep Time | 5 Minutes |
| Execution Time | 12 Minutes (Plus Natural Release) |
| Yield | 4 Servings |
| Complexity (1-10) | 2 |
| Estimated Cost per Serving | $0.22 |
THE GATHERS
Ingredient Protocol:
- Long-Grain White Rice (Jasmine or Basmati): 400g / 2 cups
- Filtered Water or Bone Broth: 475ml / 2 cups
- Unsalted Grass-Fed Butter: 14g / 1 tablespoon
- Kosher Salt: 6g / 1 teaspoon
- Bay Leaf (Optional): 1 unit
Section A: Ingredient Quality Audit:
The primary failure point in rice production is the surface starch. If your raw grains feel dusty or leave a chalky residue on your hands, they are coated in excess starch that will turn into a viscous paste under pressure. The fix is a rigorous rinse protocol. Use a fine-mesh sieve and cold water until the runoff is crystal clear. If your water is "hard" (high mineral content), it can interfere with the softening of the grain husk. Use filtered water to ensure the hydration is pure. If using broth, ensure it is low-sodium to prevent the salt from toughening the outer bran before the interior can infuse with moisture.
THE MASTERCLASS
1. The Rinse and Drain Protocol
Place your rice in a high-quality stainless steel sieve. Agitate the grains vigorously under cold running water. This is not a gentle bath; it is a mechanical stripping of surface amylose. Continue until the water running through the sieve is as clear as a mountain spring. Use a bench scraper to help move the rice if you are working in large batches.
Pro Tip: Rinsing prevents the grains from clumping by removing the "dust" that creates a viscous slurry during the cooking process. Science dictates that removing this excess starch allows for better steam circulation between individual grains.
2. The Fat Infusion
Add the rinsed rice, water, salt, and butter to the inner liner of the pressure cooker. If you want to elevate the flavor, use a saucier on the stovetop to melt the butter and lightly toast the rice for 60 seconds before adding it to the Instant Pot. This will render a nuttier aroma and create a hydrophobic barrier on the grain.
Pro Tip: Adding a lipid (butter or oil) helps to aerate the finished product. The fat coats the grains, ensuring they slide past one another rather than bonding into a solid mass.
3. The Pressure Phase
Secure the lid and set the steam vent to "Sealing." Select the "Manual" or "Pressure Cook" setting on High Pressure for 3 minutes. This short window is all the kinetic energy required when the environment is hermetically sealed. Ensure your digital scale was used for the water to rice ratio, as even a 10ml variance can ruin the texture.
Pro Tip: High pressure raises the boiling point of water, forcing moisture into the center of the grain faster than traditional boiling. This creates a more uniform texture from the surface to the core.
4. The Controlled Release
Once the timer sounds, do not touch the vent. Allow for a 10-minute Natural Pressure Release (NPR). This allows the remaining steam to be absorbed slowly, preventing the grains from bursting or becoming "blown out" by a sudden drop in atmospheric pressure.
Pro Tip: A "Quick Release" causes the water inside the grains to flash-boil, which can rupture the delicate structure of the rice and lead to a mushy, shattered appearance.
5. The Final Fluff
Open the lid and use a rice paddle or a wide fork to gently lift and fold the rice. Do not stir in a circular motion; you want to aerate the pile to let excess steam escape. This prevents the bottom layer from overcooking in the residual heat.
Pro Tip: Using a wide, flat tool prevents the mechanical crushing of the grains. This final step ensures the viscous starches don't set as the rice cools, keeping the texture light and fluffy.
Section B: Prep & Timing Fault-Lines:
Human error usually manifests in the "wait time." If you leave the rice on the "Keep Warm" setting for more than 20 minutes, the bottom layer will begin to render its moisture back into the pot, resulting in a scorched or gummy base. If your rice is crunchy, your seal may be compromised. Check the silicone ring for tears or debris. A faulty seal prevents the pot from reaching the necessary pressure to drive moisture into the grain's center.
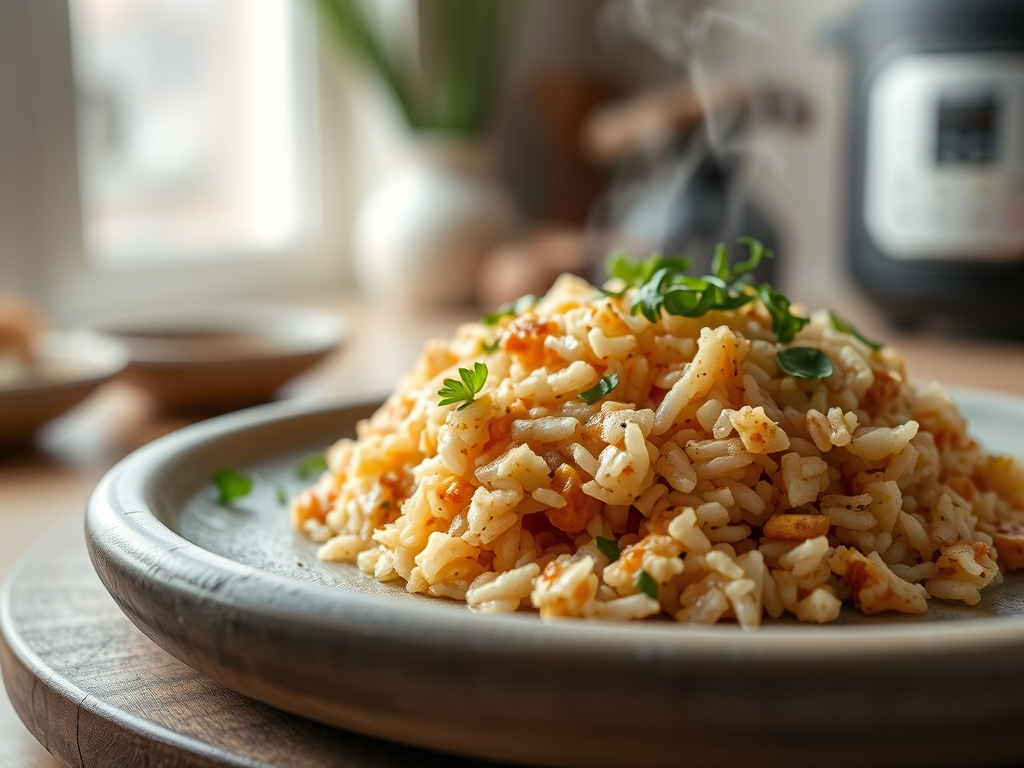
THE VISUAL SPECTRUM
Section C: Thermal & Visual Troubleshooting:
Look closely at the Masterclass photo. Notice the individual definition of every grain. There is no clumping, and the rice has a pearlescent sheen. If your rice looks dull or grey, you likely skipped the rinse or used tap water with high chlorine. If you see "pitting" (small holes on the surface), your water-to-rice ratio was too high. If the rice is unevenly colored, you did not distribute the salt and fat properly before sealing. The visual goal is a uniform, snow-white landscape where each grain reflects light independently.
THE DEEP DIVE
Macro Nutrition Profile:
A standard serving (approx. 150g cooked) provides 205 calories, 4g of protein, 45g of carbohydrates, and 0.5g of fat (excluding added butter). It is a clean, high-glycemic fuel source perfect for post-workout recovery or as a neutral base for piquant curries.
Dietary Swaps:
- Vegan: Swap butter for coconut oil or avocado oil.
- Keto: This is a grain-based dish; for a Keto alternative, use the same pressure settings for riced cauliflower but reduce the time to 1 minute with a Quick Release.
- GF: Rice is naturally gluten-free, but ensure your broth is certified.
Meal Prep & Reheating Science:
Rice undergoes "retrogradation" when cooled, where the starches recrystallize and harden. To maintain the molecular structure when reheating, add a teaspoon of water and cover tightly to create a mini-steam chamber. This re-hydrates the starch molecules without making them soggy.
THE KITCHEN TABLE
Why is my rice sticking to the bottom?
You likely have a "hot spot" in your heating element or didn't add enough fat. Ensure the inner pot is clean and the rice is fully submerged in the liquid before starting the cycle.
Can I double the recipe?
Yes. The beauty of pressure cooking is that the time remains the same regardless of volume. Just ensure you do not exceed the "Max Fill" line, as rice expands significantly during the hydration phase.
Do I need to soak the rice?
For long-grain white rice, soaking is unnecessary and can lead to mushy results. The pressure cooker is powerful enough to penetrate the grain without a pre-soak. Save the soaking for brown rice or wild varieties.
Why is my rice mushy even with a rinse?
Check your water ratio. Even a slight over-pour can lead to excess hydration. Use a digital scale for 100% accuracy. Also, ensure you are using a Natural Pressure Release for at least 10 minutes.