Listen to the sound of high-octane culinary infrastructure. It is the rhythmic percussion of a carbon steel wok meeting a high-BTU flame; the staccato chop of a razor-sharp santoku against a polyethylene board; the hiss of moisture instantly transitioning to steam. We are not just making dinner; we are managing a high-velocity thermal event. The 15 Min Chicken Stir Fry is the ultimate test of your kitchen's kinetic efficiency. To master this, you must stop thinking like a home cook and start thinking like a systems engineer. You have exactly nine hundred seconds to navigate the transition from raw, fibrous muscle tissue to a succulent, glazed masterpiece. This requires a symphony of Maillard reactions and precise moisture management. If your mise en place is disorganized, the entropy of the pan will overtake you. We are here to audit your workflow, optimize your thermal output, and ensure that every gram of protein is perfectly seared while the aromatics remain vibrant and piquant. Prepare for a total system overhaul.
THE DATA MATRIX
| Metric | Specification |
|---|---|
| Prep Time | 7 Minutes |
| Execution Time | 8 Minutes |
| Yield | 2 Servings |
| Complexity (1-10) | 4 |
| Estimated Cost per Serving | $4.50 USD |
THE GATHERS
Ingredient Protocol:
- 450g / 1 lb Chicken Breast (Sliced into 1cm strips)
- 30ml / 2 tbsp Neutral Oil (High smoke point: Grapeseed or Avocado)
- 250g / 2 cups Broccoli Florets (Bite-sized)
- 120ml / 0.5 cup Low-Sodium Soy Sauce
- 15ml / 1 tbsp Toasted Sesame Oil
- 30g / 2 tbsp Fresh Ginger (Grated)
- 3 Large Cloves Garlic (Minced)
- 15g / 1 tbsp Cornstarch (The slurry catalyst)
- 5g / 1 tsp Red Pepper Flakes
- 100g / 1 cup Snap Peas (Trimmed)
Section A: Ingredient Quality Audit:
The primary failure point in a 15 Min Chicken Stir Fry is moisture-logged protein. If your chicken arrives in a saline-injected package, it will "weep" in the pan, leading to grey, steamed meat rather than a golden sear. The fix: Pat the protein bone-dry with lint-free towels before slicing. If your aromatics (ginger and garlic) feel soft or shriveled, their volatile oils have dissipated. Revive them by grating them directly into your liquid base to capture every drop of essence. Finally, if your broccoli stems are woody, use a vegetable peeler to remove the fibrous exterior; this ensures the entire floret cooks at a uniform rate, preventing the "mushy head, raw tail" syndrome.
THE MASTERCLASS
Step 1: The Protein Foundation
Slice the chicken against the grain using a bench scraper to move your pieces efficiently. Toss the strips with a pinch of salt and a teaspoon of cornstarch. This creates a protective barrier that helps the meat retain its internal juices while facilitating a rapid sear.
Pro Tip: Slicing against the grain shortens the muscle fibers, ensuring the final product is tender rather than rubbery. Use a digital scale to ensure even portioning for consistent cooking times across the batch.
Step 2: Thermal Priming
Place your wok or heavy-bottomed saucier over high heat. Add the neutral oil only when the pan begins to wisps with smoke. Swirl to coat the surface. This creates a non-stick layer through a process known as polymerization.
Pro Tip: A high smoke point oil is non-negotiable. If the oil breaks down (smokes excessively), it becomes bitter. Use an infrared thermometer to verify a surface temp of at least 200C / 400F before the chicken makes contact.
Step 3: The Kinetic Sear
Add the chicken in a single layer. Do not crowd the pan. Let it sit undisturbed for 90 seconds to render any surface fat and develop a deep crust. Flip and cook for another 60 seconds, then remove the chicken from the pan and set it aside.
Pro Tip: Crowding the pan drops the temperature instantly, causing the meat to boil in its own juices. By removing the chicken early, you prevent overcooking while you manage the vegetables.
Step 4: The Vegetable Infusion
Add the broccoli and snap peas to the residual oil. Add a splash of water (15ml) to create a burst of steam, then cover for 60 seconds. This par-cooks the dense vegetables without losing their vibrant chlorophyll green.
Pro Tip: This "steam-fry" method is a professional shortcut. It ensures the interior of the broccoli is tender while the exterior remains crisp. Use a heavy lid to trap the kinetic energy of the steam.
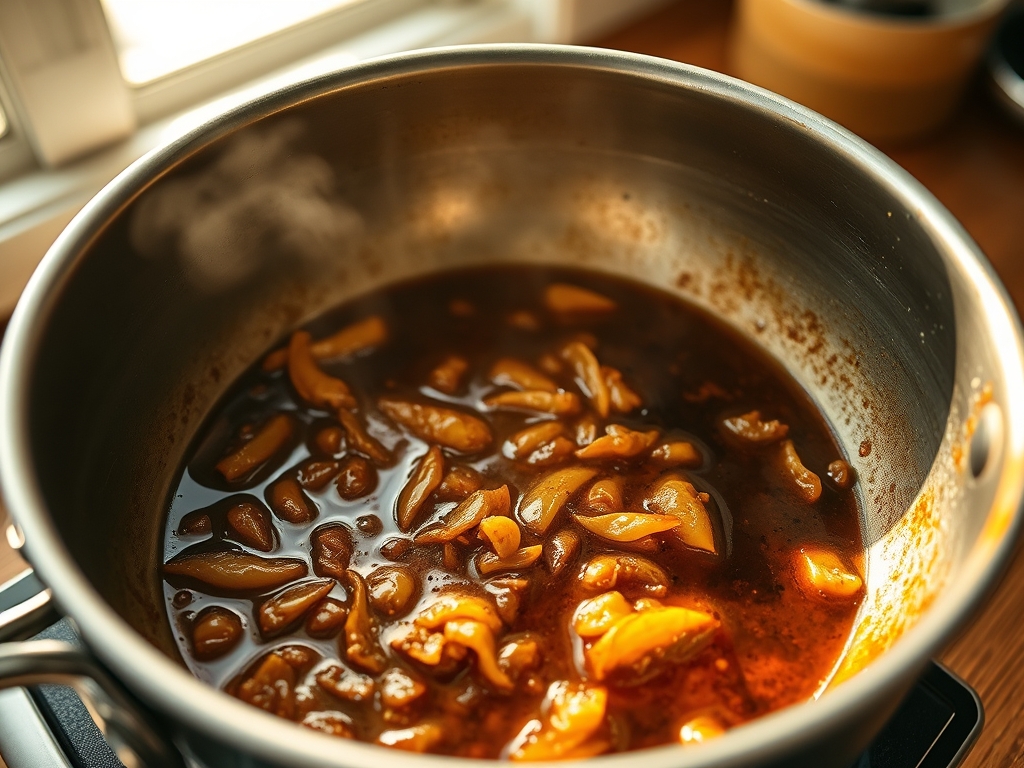
Step 5: The Viscous Glaze
Return the chicken to the pan. Pour in the mixture of soy sauce, ginger, garlic, and the remaining cornstarch. Toss vigorously as the liquid begins to bubble and thicken into a viscous glaze that coats every surface.
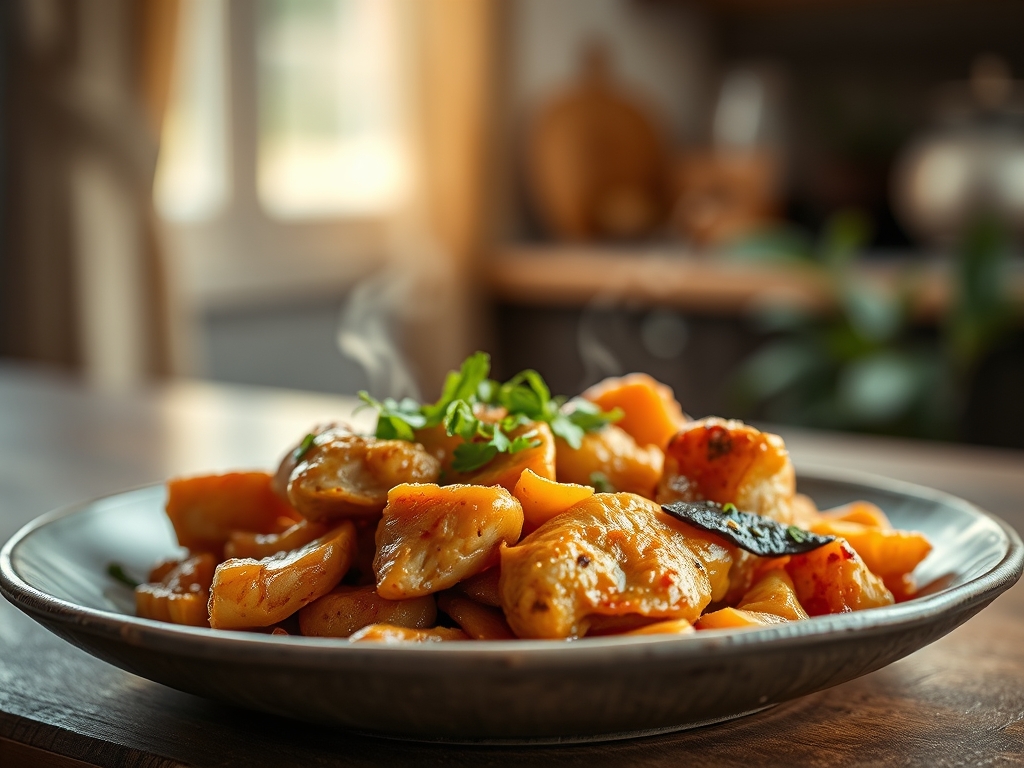
Pro Tip: The cornstarch must be fully dissolved in cold liquid before adding to the hot pan to avoid "clumping." As the starch granules swell and burst (gelatinization), they create that signature glossy sheen seen in the masterclass photo.
Section B: Prep & Timing Fault-Lines:
The most common human error is "The Hesitation." If you stop to mince garlic while the chicken is already searing, you have already lost the battle. The 15 Min Chicken Stir Fry requires a "Cold Start Mise." Every ingredient must be measured and ready before the heat is turned on. Another fault-line is temperature recovery. If using an electric stove, you must allow the pan 30 seconds to regain heat between adding different ingredients. If the pan sounds quiet, you are failing; it should always "roar."
THE VISUAL SPECTRUM
Section C: Thermal & Visual Troubleshooting:
Look closely at the Masterclass photo. Notice the lacquered appearance of the sauce; it is not watery, nor is it a thick paste. If your sauce is too thin, increase the heat to reduce the liquid. If it is too dark or "muddy," you likely burnt the garlic. Garlic should only hit the heat for the final 60 seconds of the process. If your vegetables look dull or olive-drab, they have been overcooked, destroying the cellular structure. Aim for a "high-definition" green. If the chicken looks white rather than brown, your pan temperature was too low, failing to trigger the Maillard reaction.
THE DEEP DIVE
Macro Nutrition Profile:
A standard serving provides approximately 35g of protein, 12g of carbohydrates (mostly from fiber-rich vegetables), and 9g of healthy fats. It is a high-density, low-glycemic fuel source designed for rapid recovery.
Dietary Swaps:
- Vegan: Replace chicken with extra-firm pressed tofu or tempeh. Use liquid aminos instead of soy sauce.
- Keto: Eliminate the cornstarch; use a xantham gum slurry (use 1/4 the amount) and replace snap peas with zucchini.
- GF: Ensure the soy sauce is replaced with Tamari or Coconut Aminos.
Meal Prep & Reheating Science:
To maintain molecular structure during reheating, avoid the microwave if possible. The microwave agitates water molecules, often turning the chicken rubbery. Instead, use a flash-fry method in a hot pan for 2 minutes with a teaspoon of water to re-hydrate the glaze.
THE KITCHEN TABLE
Why is my chicken always tough?
You likely overcooked it or sliced with the grain. Ensure you pull the chicken at 74C / 165F. The carryover heat during the glazing phase will finish the job perfectly without drying out the protein fibers.
Can I use frozen vegetables?
Yes, but you must thaw and pat them dry first. Frozen vegetables carry excess ice crystals that will crash your pan temperature and turn your stir fry into a soup. Fresh is always superior for kinetic texture.
What is the best pan to use?
A carbon steel wok is the gold standard for its heat responsiveness. If you lack one, a heavy cast iron skillet is the next best thing due to its incredible thermal mass and heat retention capabilities.
How do I get that "restaurant" shine?
The shine comes from the emulsification of the cornstarch slurry and a final drizzle of toasted sesame oil at the very end. Never cook the sesame oil for long; it is a finishing oil with delicate aromatics.