Stop treating your snacks like a secondary consideration. We are here to talk about the structural integrity of the ultimate crunch. When you subject Air Fryer Chickpeas to high velocity dehydration, you are not just cooking; you are performing a mechanical transformation of a humble legume into a high-octane, piquant fuel source. Most home cooks fail because they approach the chickpea with a lackadaisical attitude toward moisture content. They toss them in a basket, pray to the gods of convection, and end up with a texture that is simultaneously mushy and burnt. We do not do that here. We are aiming for a shatter-effect crunch that resonates through the jawbone. We want a spice profile that is deep, layered, and perfectly adhered to the surface through lipid-based bonding. This is about thermal precision and surface area optimization. If you want a snack that satisfies the primal urge for salt and snap while maintaining a superior macro profile, you have arrived at the correct terminal. Let us begin the audit.
THE DATA MATRIX
| Metric | Specification |
|---|---|
| Prep Time | 10 Minutes |
| Execution Time | 15 to 20 Minutes |
| Yield | 3 Servings |
| Complexity | 3 / 10 |
| Estimated Cost per Serving | $0.65 USD |
THE GATHERS
Ingredient Protocol:
- 425g / 15 oz Canned Chickpeas (Garbanzo Beans), drained and rinsed.
- 15ml / 1 tablespoon Extra Virgin Olive Oil.
- 5ml / 1 teaspoon Smoked Paprika.
- 2.5ml / 0.5 teaspoon Garlic Powder.
- 2.5ml / 0.5 teaspoon Onion Powder.
- 1.25ml / 0.25 teaspoon Cayenne Pepper (for piquant heat).
- 2.5ml / 0.5 teaspoon Fine Sea Salt.
- 1.25ml / 0.25 teaspoon Freshly Ground Black Pepper.
Section A: Ingredient Quality Audit:
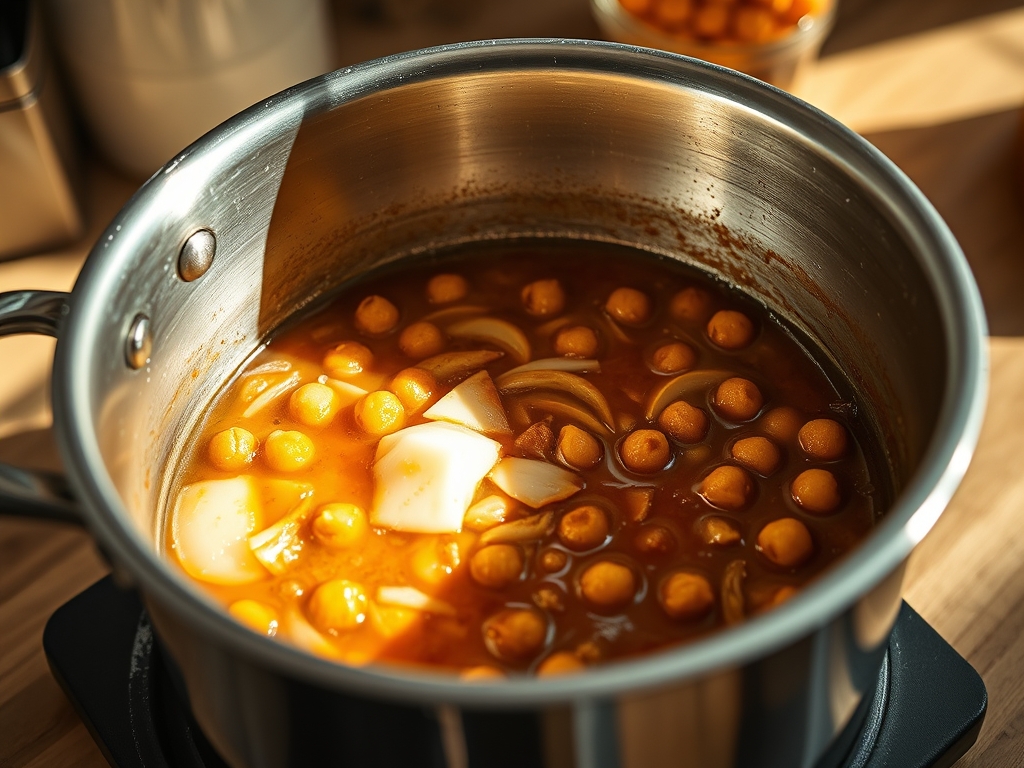
The most common failure point in this protocol is the aquafaba residue. If your chickpeas feel viscous or slimy after rinsing, your spice adhesion will fail. The solution is a double-rinse cycle in a high-quality mesh strainer followed by a manual desiccation phase. If you are using dried chickpeas, they must be soaked for 12 hours and then simmered until "al dente" before the air frying begins. Overcooked beans will collapse under high-velocity air. If your spices smell like dust, they are oxidized. Replace them. Old spices lack the volatile oils necessary to infuse the legume with flavor during the thermal transition.
THE MASTERCLASS
1. The Desiccation Protocol
The enemy of the crunch is surface moisture. After rinsing your chickpeas, spread them onto a clean kitchen towel or a layer of heavy-duty paper towels. Use a second towel to vigorously but gently roll them around. You are looking to remove the thin, translucent skins. While tedious, removing these skins increases the surface area for the Maillard reaction to occur.
Pro Tip: Use a digital scale to ensure your chickpeas are uniform in weight. Moisture trapped under the skin creates steam, which leads to a soft interior. Removing the skin allows the high-velocity air to dehydrate the starch molecules more efficiently.
2. The Lipid Coating
Transfer the bone-dry chickpeas to a stainless steel mixing bowl. Drizzle the olive oil over the top. Use a silicone spatula or a bench scraper to toss the legumes until every single sphere is glistening. Do not add the spices yet. Adding spices too early leads to scorching, as the fine particulates have a lower burn point than the legume itself.
Pro Tip: The oil acts as a heat transfer medium. Without a thin, even coat of lipid, the air fryer will simply dry the beans out into pebbles rather than render them crispy.
3. The First Thermal Phase
Preheat your air fryer to 200C / 400F. Slide the basket in and cook the plain, oiled chickpeas for 10 minutes. At the 5-minute mark, remove the basket and perform a vigorous "shake and rotate" to ensure even exposure to the heating element.
Pro Tip: This initial phase is about structural setting. We are using the air fryer as a miniature convection oven to aerate the outer layers before the flavor profile is introduced.
4. The Spice Infusion
Once the chickpeas are slightly golden and feel firm to the touch, transfer them back to the mixing bowl. Sprinkle the combined spices over the hot beans. The residual heat will help the spices infuse into the oil coating without burning the delicate powders.
Pro Tip: Professional chefs use a saucier or a deep bowl for this step to ensure maximum centrifugal coverage. The heat from the chickpeas helps release the fat-soluble compounds in the paprika and garlic powder.
5. The Final Dehydration
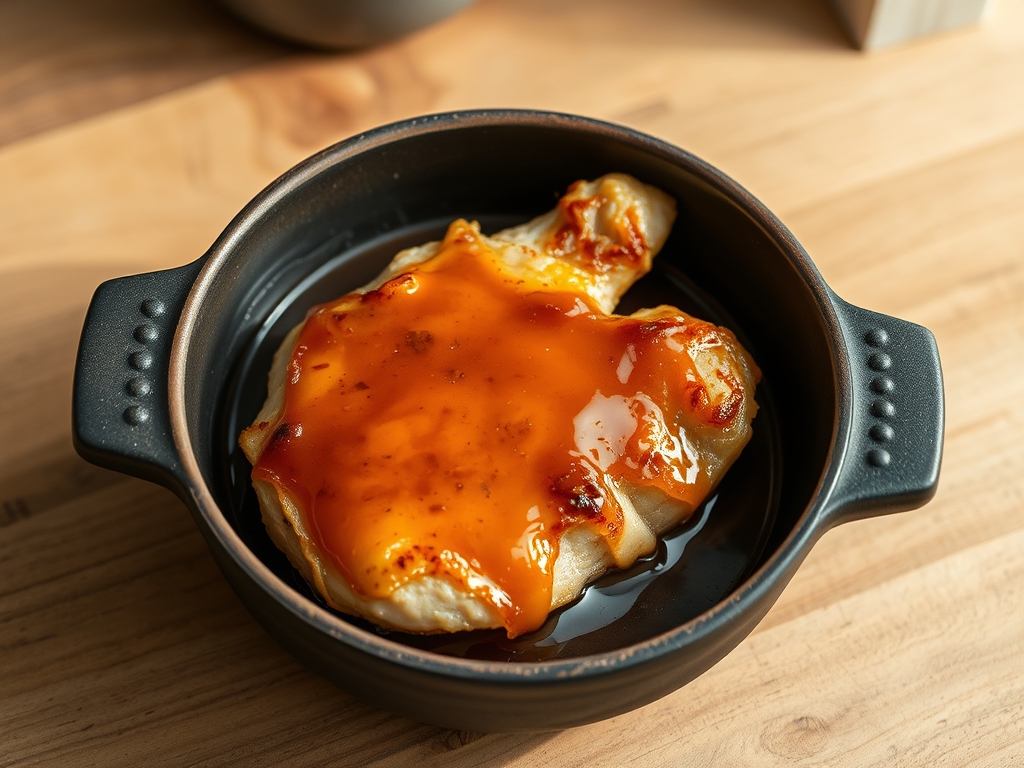
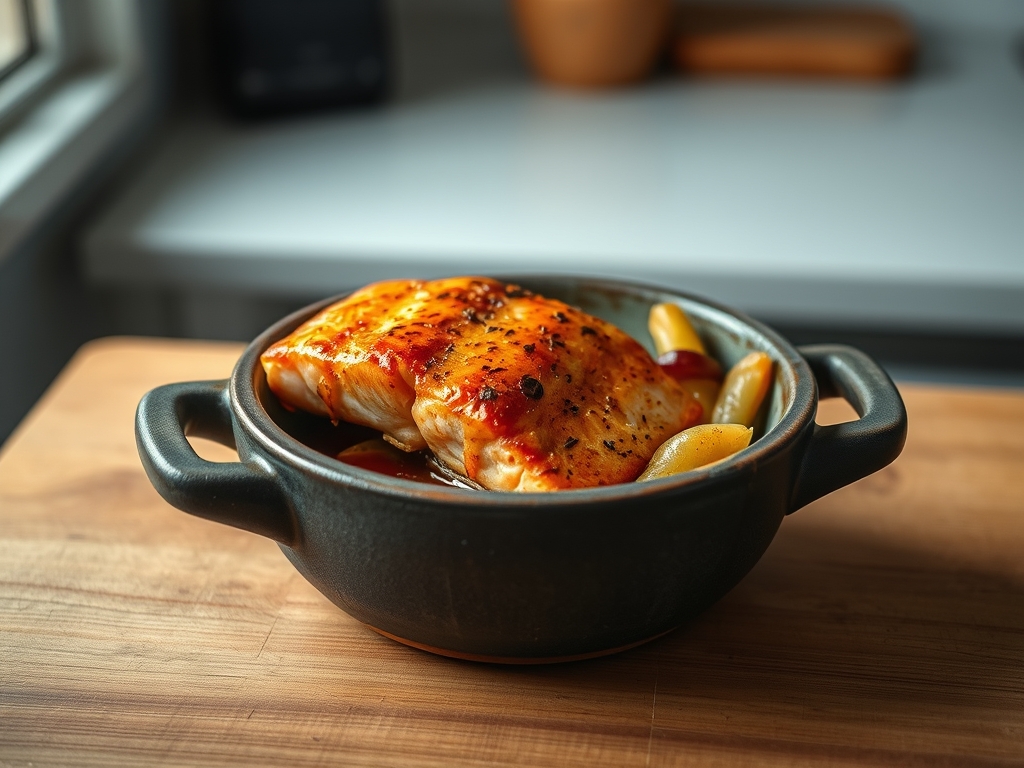
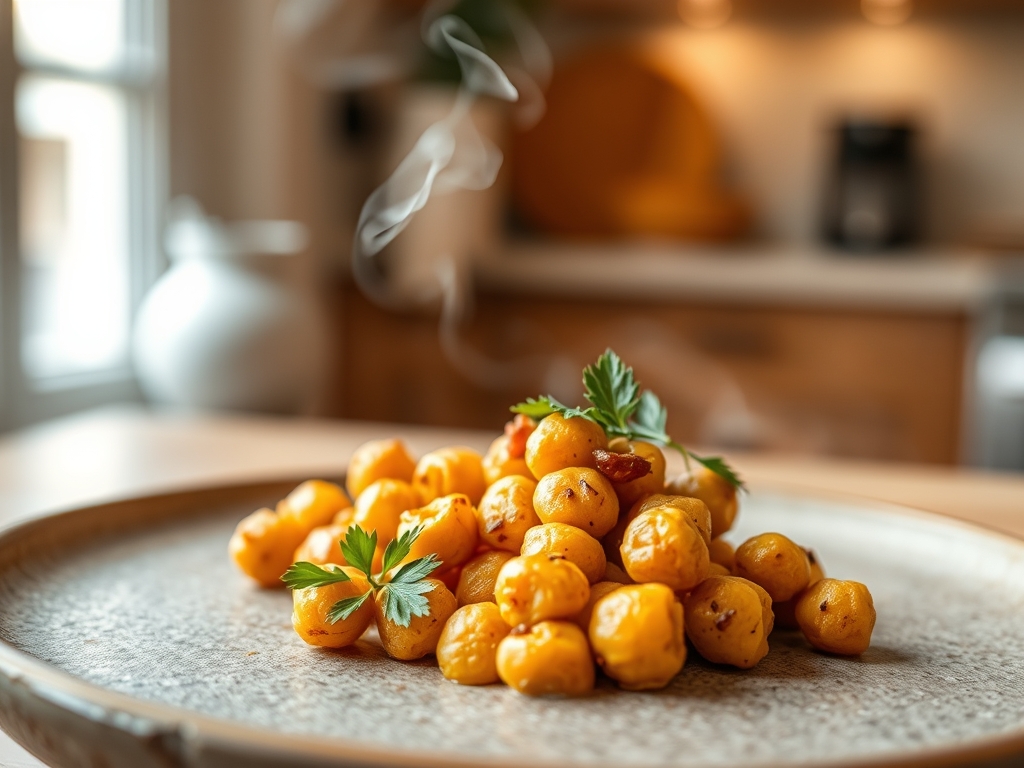
Return the seasoned chickpeas to the air fryer for a final 5 to 8 minutes. Monitor the scent closely. If you smell the slightest hint of carbon, the process is complete. The goal is a deep mahogany hue, as seen in the reference visual.
Pro Tip: Use an infrared thermometer to check the basket temperature. Constant opening of the drawer causes heat loss, which can stall the dehydration process and lead to a "chewy" result.
Section B: Prep & Timing Fault-Lines:
Timing is a function of volume. If you overcrowd the basket, you create a steam chamber rather than a dehydration chamber. If your chickpeas are not rattling like marbles when you shake the basket, they are not done. Another common error is the "Cold Start." Always preheat. Placing cold legumes into a cold chamber results in oil absorption rather than surface searing, leading to a greasy mouthfeel.
THE VISUAL SPECTRUM
Section C: Thermal & Visual Troubleshooting:
Look at the reference photo. Notice the variegated texture on the surface of the chickpeas. This is the hallmark of a successful skin-removal process. If your chickpeas look dull or dusty, you likely added the spices to a dry bean or used too little oil. If the color is uneven, with some beans pale and others black, your "shake frequency" was insufficient. The ideal visual cue is a matte, textured finish with visible grains of salt and pepper clinging to the convex surfaces. If they appear shriveled like raisins, you have over-dehydrated the interior protein matrix; reduce the final cook time by 2 minutes in your next iteration.
THE DEEP DIVE
Macro Nutrition Profile:
A standard serving (approx. 100g) of these Air Fryer Chickpeas delivers roughly 180 calories, 8g of protein, 6g of fiber, and 7g of healthy fats. They are a low-glycemic powerhouse, providing sustained energy without the insulin spike associated with potato-based snacks.
Dietary Swaps:
- Vegan: Naturally compliant.
- Keto: Chickpeas are higher in carbs, so limit intake to 30g servings or swap for roasted pecans using the same spice protocol.
- GF: Naturally gluten-free, but ensure your spice blends are certified to avoid cross-contamination.
Meal Prep & Reheating Science:
To maintain the molecular structure, store these in a glass airtight container only after they have reached room temperature. If you seal them while warm, residual steam will soften the starch. To revive the crunch after 48 hours, subject them to a 2-minute "flash fry" in the air fryer at 200C.
THE KITCHEN TABLE
Why are my chickpeas still soft in the middle?
You likely skipped the desiccation phase. Any internal moisture will migrate to the surface as they cool. Ensure they are bone-dry before oiling and give them the full 20 minutes of thermal exposure.
Can I use different oils for this protocol?
Yes, though high-smoke-point oils are preferred. Avocado oil or Grapeseed oil work excellently. Avoid butter, as the milk solids will burn at 200C before the chickpeas have fully dehydrated.
How do I get the spices to stick better?
The secret is the two-stage cook. By adding spices after the initial 10-minute roast, the oil is hot and viscous, allowing the spices to bond to the surface without being blown off by the high-velocity fan.
Why did my spices turn bitter?
Bitter notes are a sign of scorched spices. Garlic powder and paprika are highly sensitive to heat. If this occurs, add the spices even later in the process or lower the temperature to 190C for the final phase.